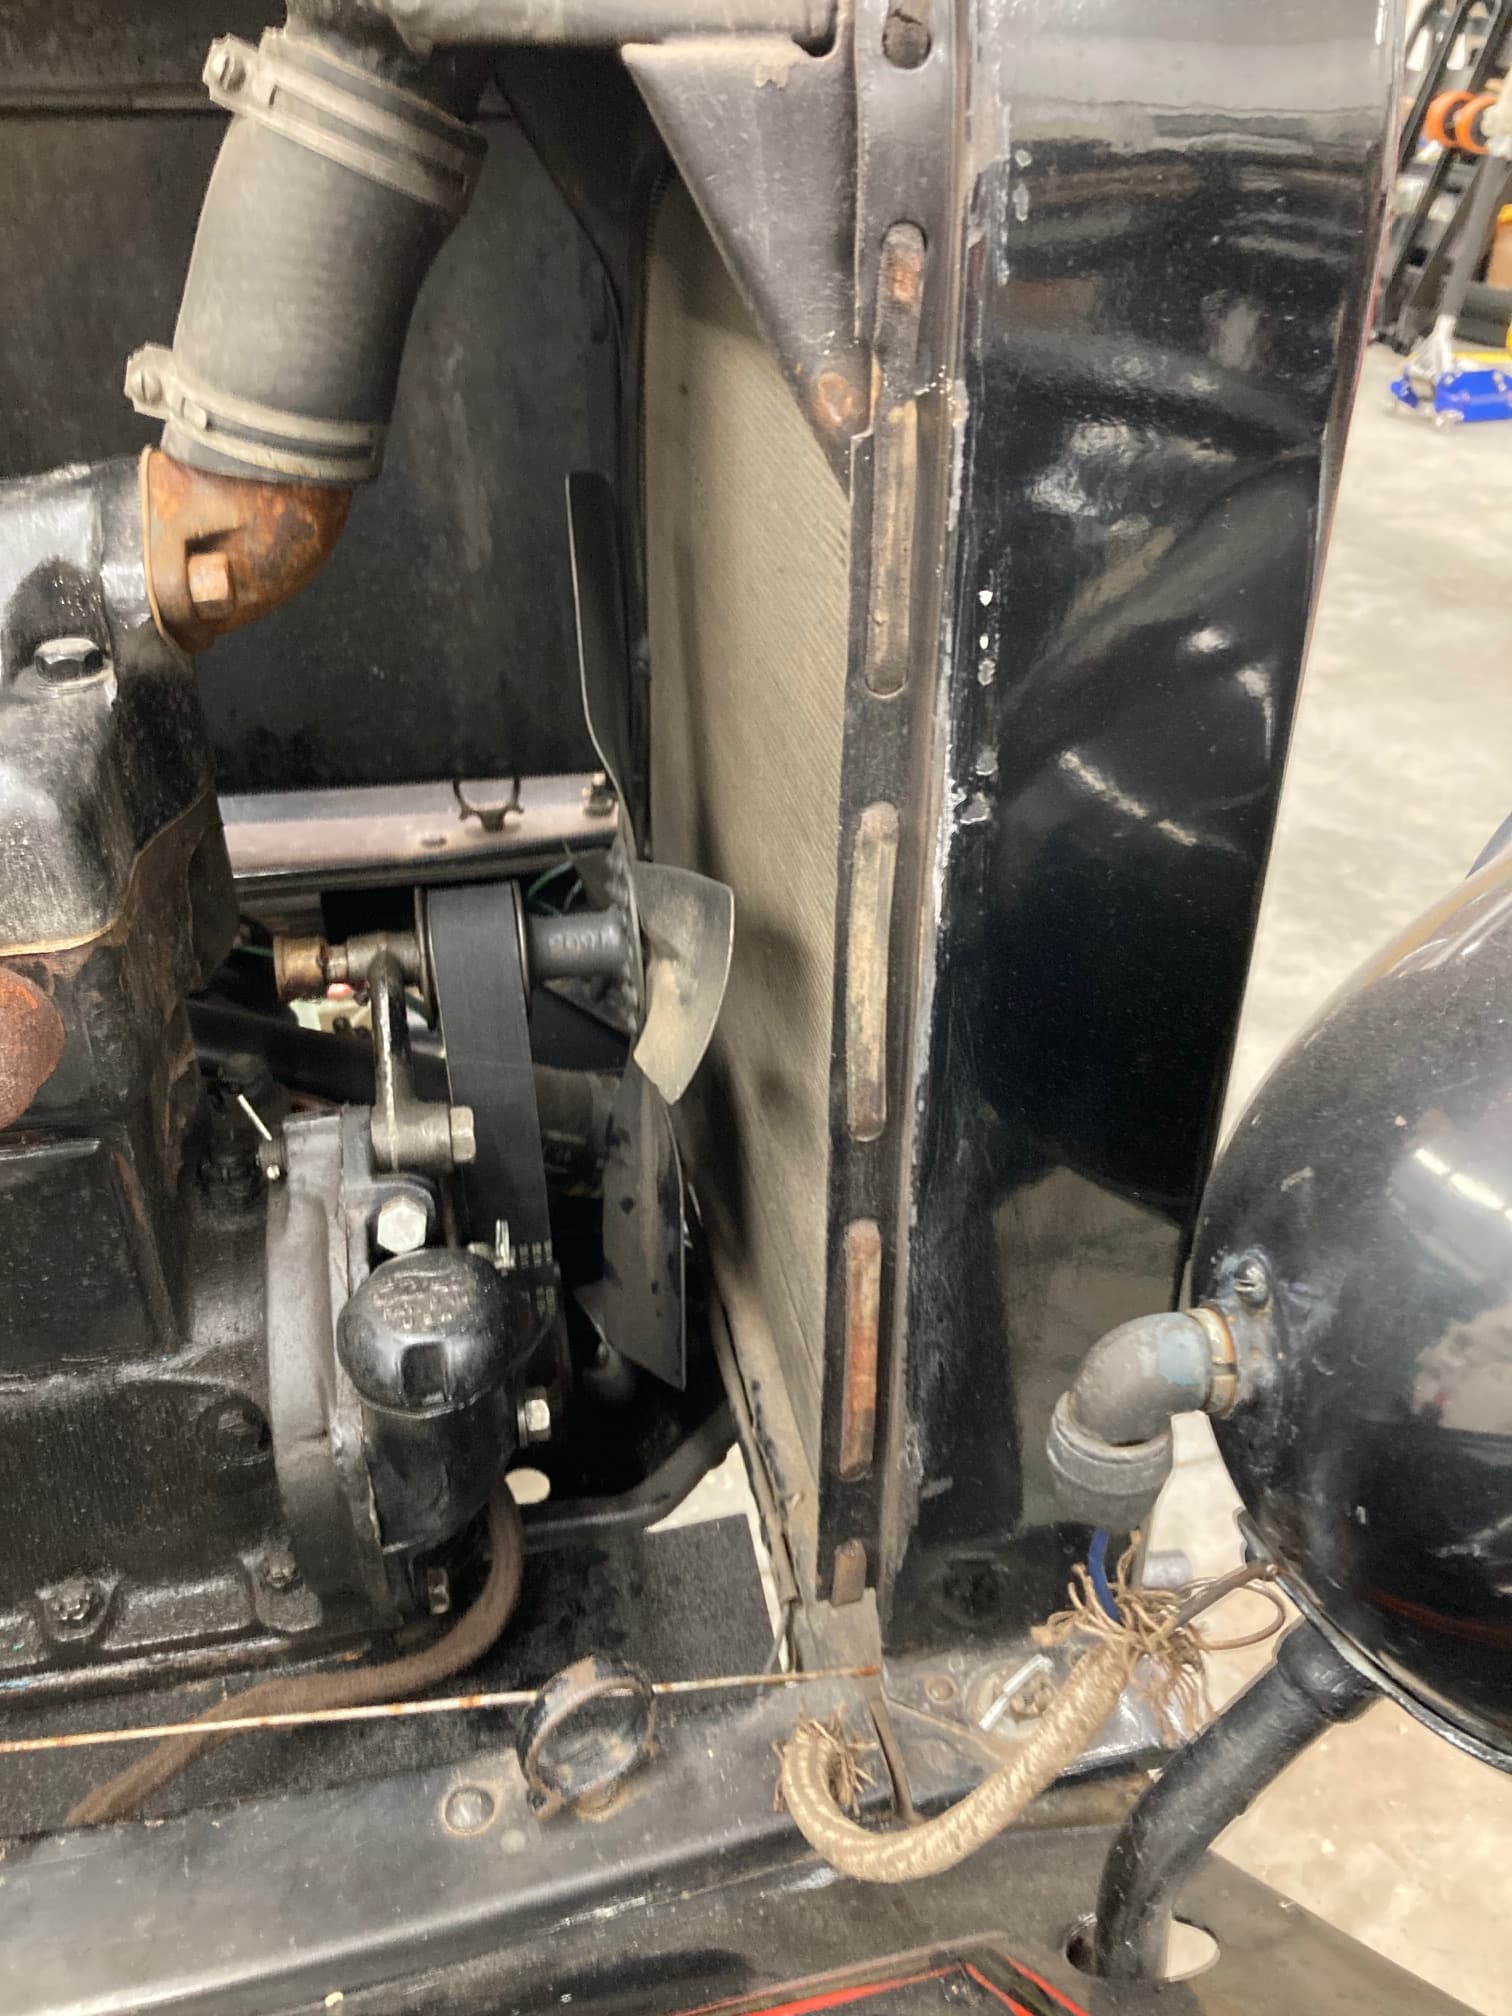
The old lacing crumbled so I’m attempting to install new lacing. It seems simple enough, feed the lacing out of the two holes on either side of the support rod fitting next to where the radiator filler hole is, then lace so that the lace is on the outside of the radiator shell where the holes are farthest apart to protect the hood from vibration.
The lace between the short distances between the holes travels inside the shell.
Except if I do that, there are three holes close together where the radiator shell radius is and that throws off the sequence----this is, counting from the bottom of the radiator shell, the 7th, 8th, and 9th holes and just above the relief in the sheet metal shell between the 6th and 7th holes.
Any ideas?
After close examination, one of the holes on each side (the 7th hole from the bottoms) looks counter sunk, as if for a screw. If I skip that hole, the lacing looks as it should—but what does the counter sunk screw hold? And how do I drive the screw into whatever it’s supposed to attach to if the hole is covered by the lacing?
I’ve got another Model T mystery to solve!
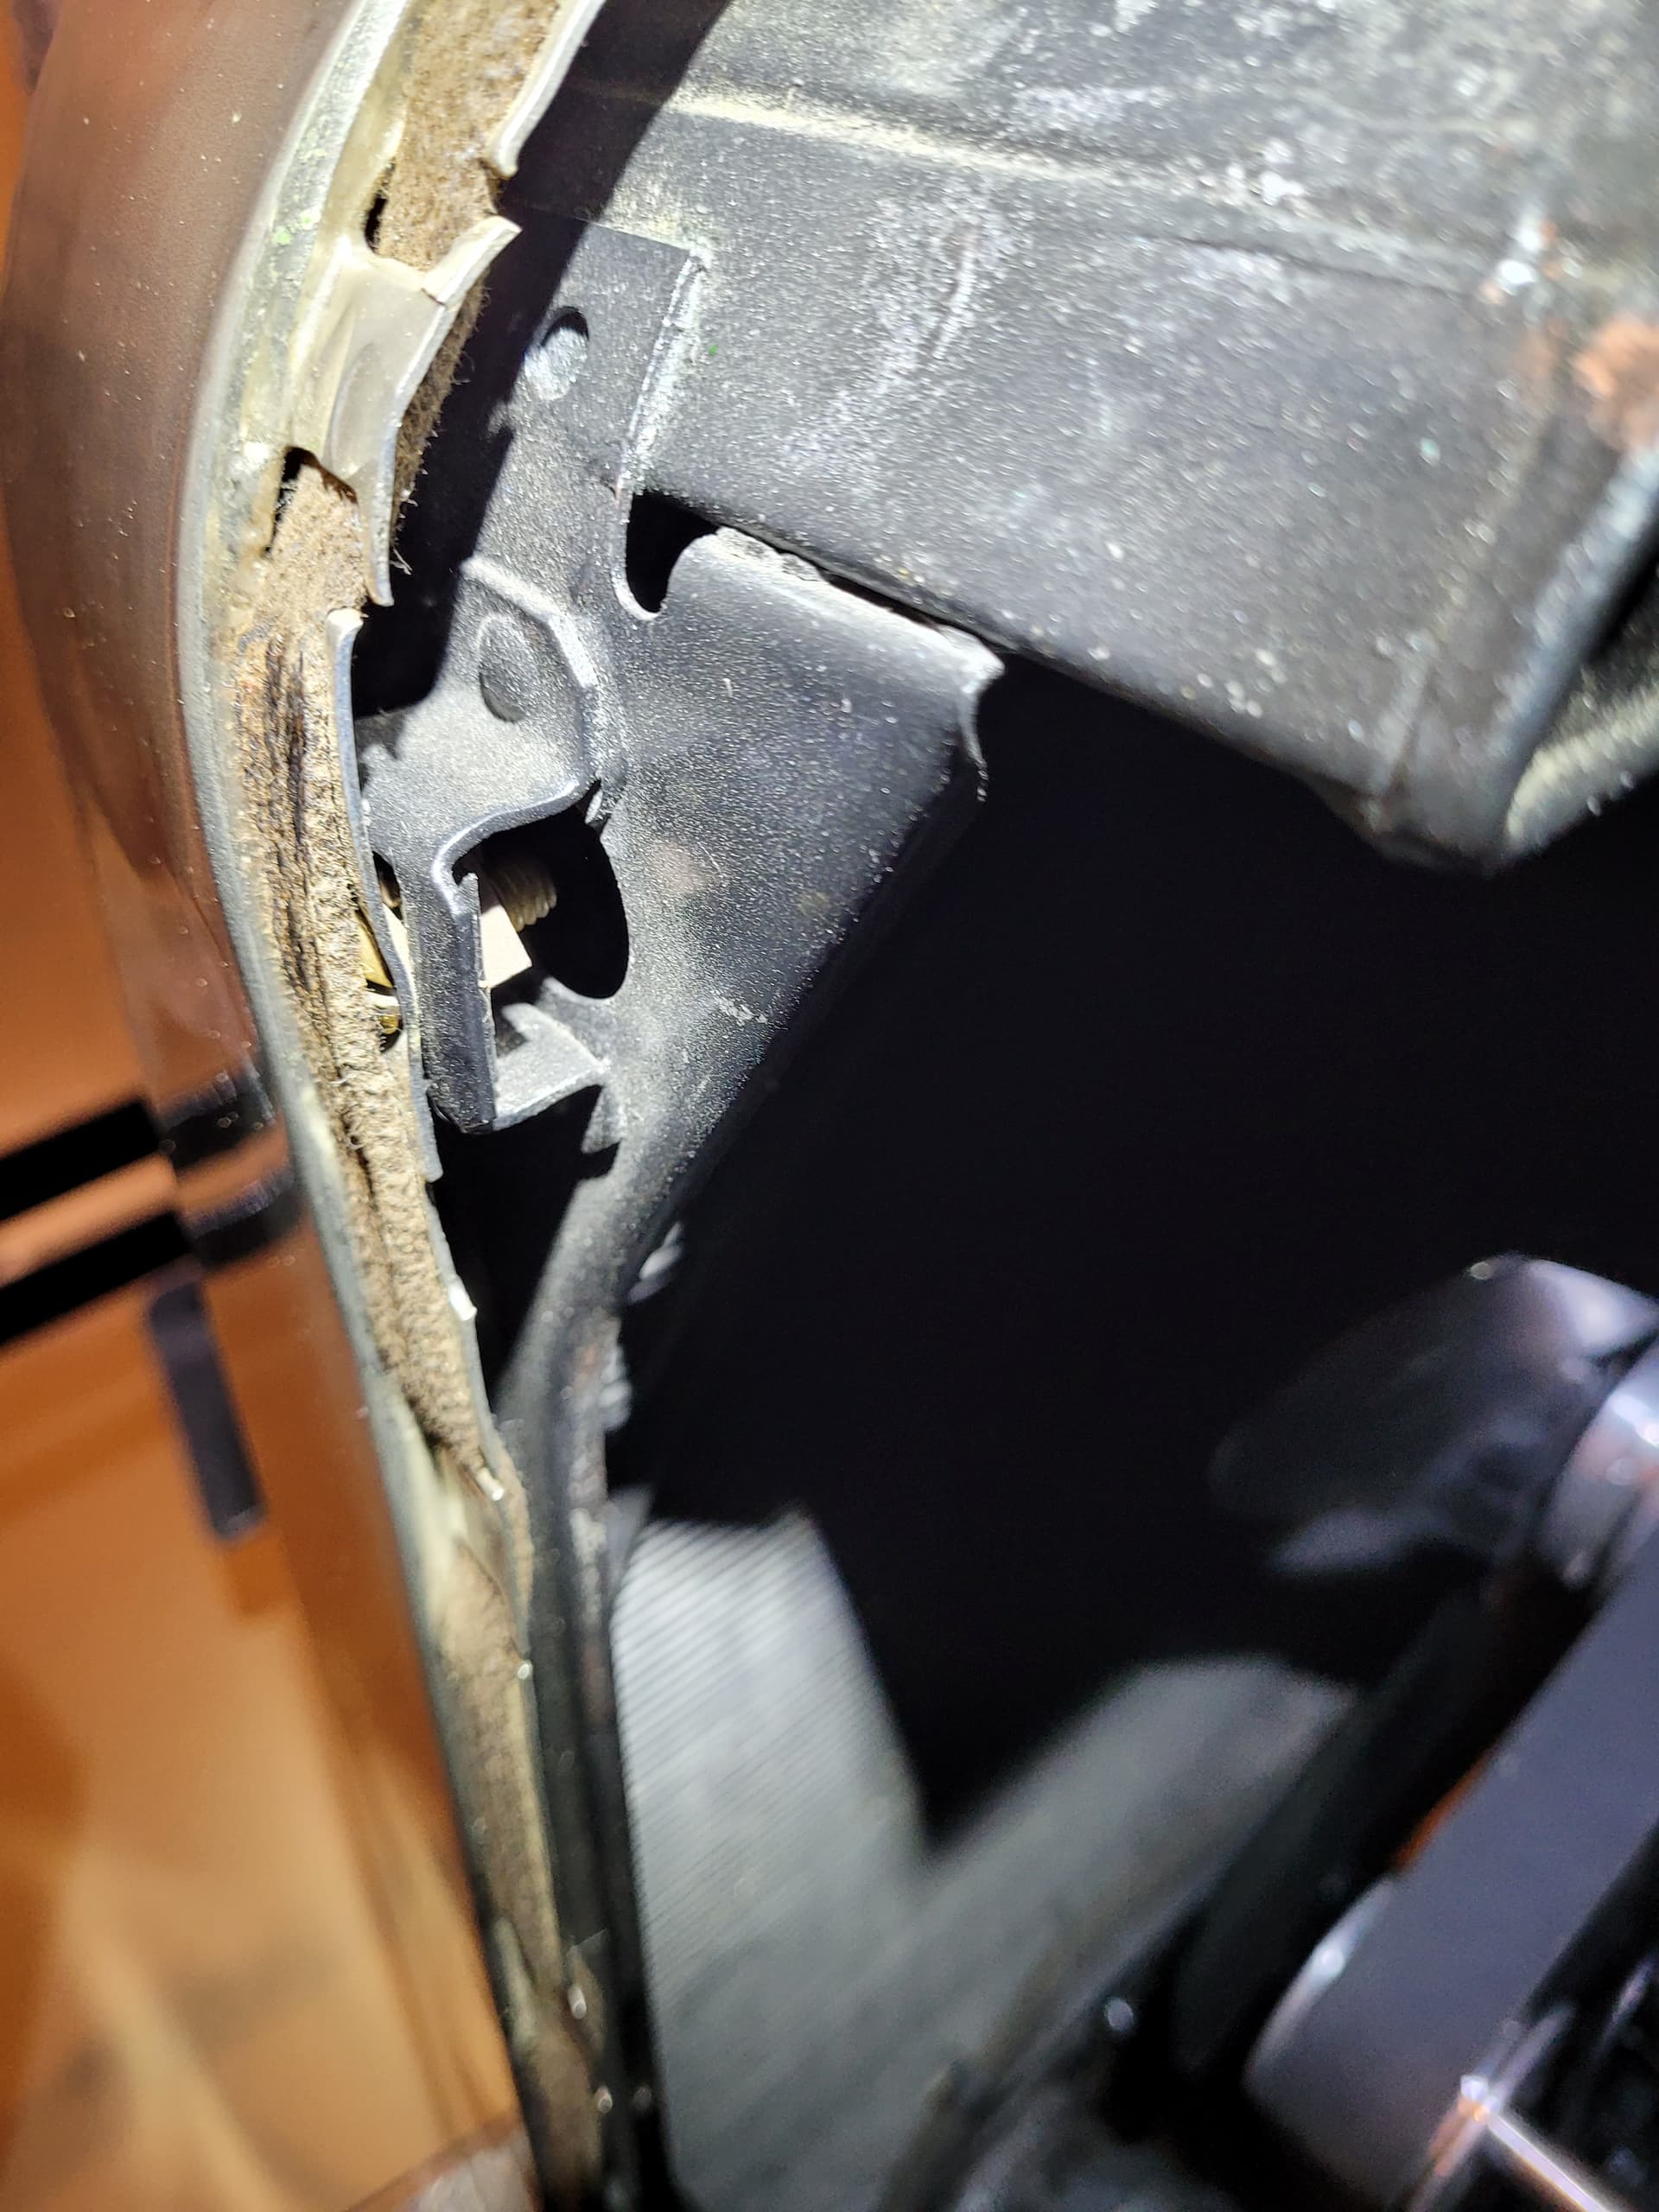
I know that your car is later and has a higher radiator shell so take this for what it is worth. This is a photo of the original lacing on my 1917 Model T. There are no countersunk holes. The lacing goes from one end to the other uninterrupted.
I would look at other 1924 Model T’s too see if maybe the holes were added to your radiator shell for some reason?
Here’s a picture of my '26. Maybe a help…or not😀. On my car the counter sunk hole is for a securing the rad shell to the rad, then the lacing goes over it. Maybe yours is the same.
Yup! That’s how mine works.