I tried asking this question on the other website with no valid response. Any advice is appreciated.
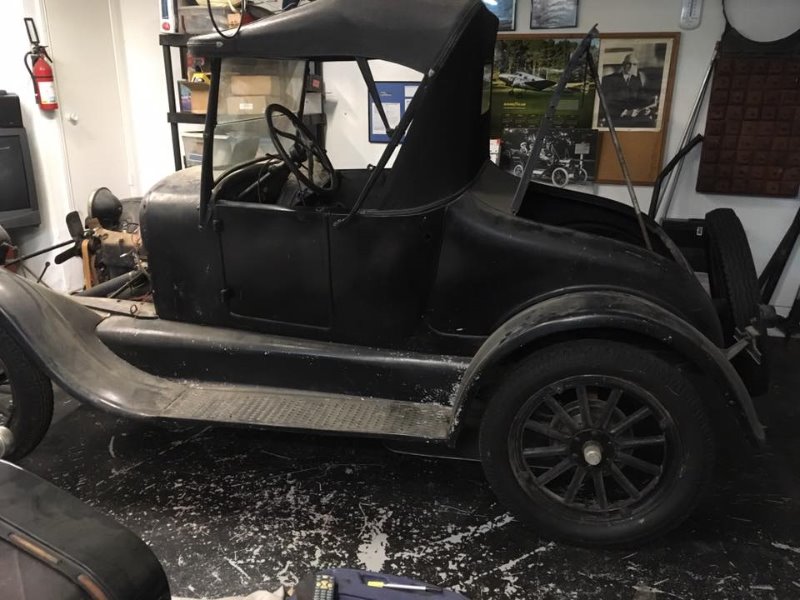
After being educated by Royce as to the method of proper riveting, I bought an ACAT 3X riveter and the correct rivets for the body metal on my '26 Runabout. If I am going to do something as permanent as rivets, it would be nice to know which direction Ford installed them originally. The previous owner erased all traces of what was done originally. I’ve tried looking at photos online but it’s difficult to see rivet heads.
So here are my assumptions and I would appreciate if other car owners could confirm:
For the trunk floor, were the rivets inserted from underneath the body?
For the panel that forms the seat back, were the rivets inserted from the trunk side?
For the seat riser and floor panel under the seat, were the rivets inserted from the top side?
Tom,
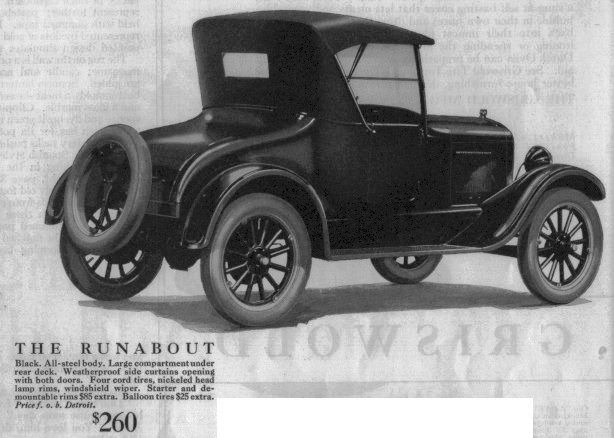
I don’t know the answer, perhaps someone has an unrestored car to show photos of? If they don’t have any soon I can get photos of Buford, it is nearby and completely original, but it has no trunk area since it is a roadster pickup.
Just remembered my buddy Chuck has a very nice unrestored '26 runabout too. I called him and he said he would look today when he gets home from work.
OK Chuck looked at his 26 roadster and called me.
The rivets inside the trunk all have the manufactured heads inside the trunk. The shop heads go either below the trunk or forward of the trunk.
The seat base rivets have the manufactured head inside the car. The shop heads can be seen under the car.
Royce, Chuck,
Thank you both for digging into this. I started riveting everything back together in the directions Chuck observed. There may be one place where I have to deviate. That will be under the turtle. Some of the holes in the subframe rails appear to be deliberately punched oversize.
Tom M.
This last week, my son and I finished the riveting. All told we used over fifty rivets. The nice thing about a Runabout body is its light weight. We were able to place the body on five gallon pails or on its side on thick carpeting and used gravity to our advantage. The one piece of the body that surprised me the most was the lower seat cushion frame. I always thought the board standing up in the seat frame was to provide support for the seat cushion. After installing the rivets that secured the seat frame to the latch pillars, I was amazed at how sturdy the body became. That piece of wood is also a cross car beam to tie the latch pillars together when closing the doors as well as serving to keep them closed as the body flexes.
What helped immensely was the bucking bar assortment that was available at the store where I bought the riveter. In addition to a few more round head riveting tools, there was two flat smoothing tools in the kit. I ended up using many of these in addition to the Ford waffle tool. The kit included a canvas tool bag for the riveter so I can keep everything together until the next project.