Royce, If I am reading the internet right, an “A” axle is about 1" - 1-1/2" Already lower than a T. So that would be similar to using 26-7 Spindles on an earlier car. I will have to get it all mocked up, but I am shooting for about 6" of ground clearance between the T drain-plug, and the road with no one in the car. If everything is right, I should be there, thus no need for a dropped axle. Remember, the frame has a 5" crossmember drop in it.
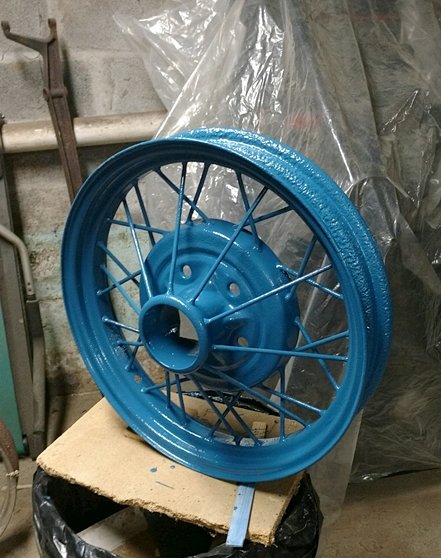
The only “A” pieces planned are the entire steering setup, '30-'31 column, front axle and hubs, and four '30-'31 19" wheels. The rest should all be “T”
I believe I have found a steering column, will be picking it up tomorrow—that’s the plan anyhow.
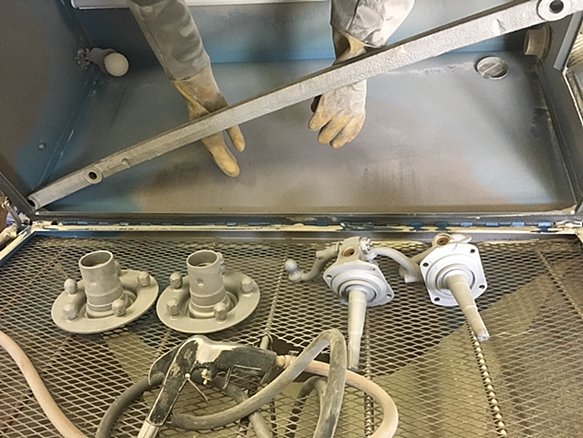
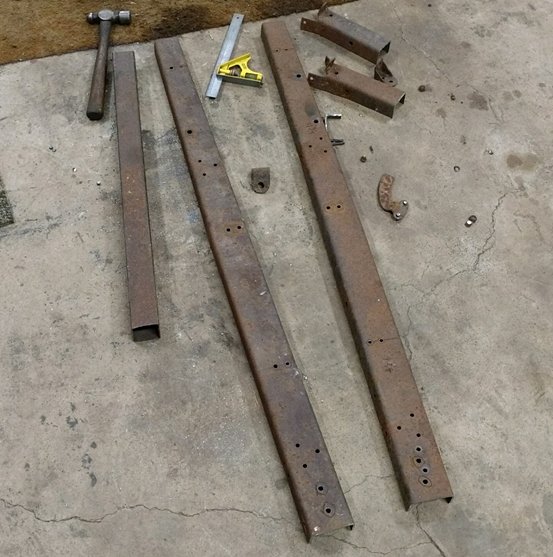
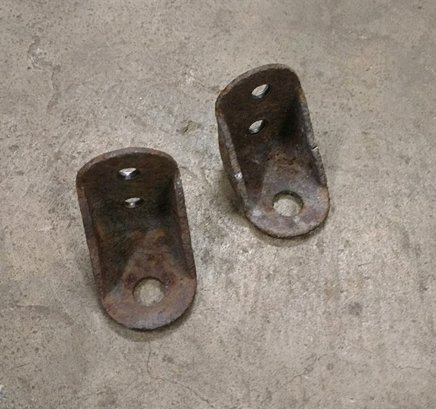
My blasting guy is amazing. He met me yesterday on his day off and already finished the parts. I can’t wait until I get time during the week to go get them.
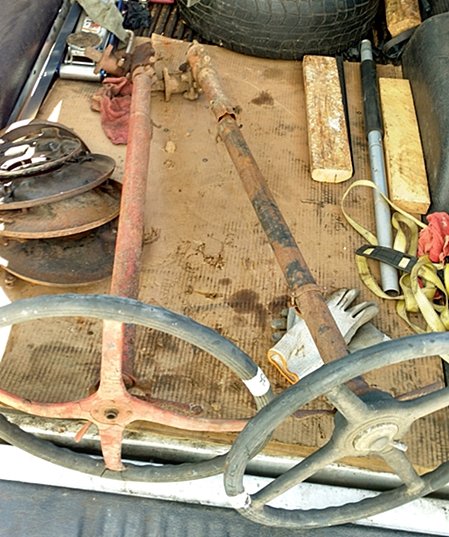
And I was lucky enough to score the steering columns I have waited patiently for the gentleman on Craigslist to be able to finally meet with him. It was a 2.5 hour round trip, but the deal was excellent. These are the better 30-31 Model A columns. Yes, they need work and gone through, but nothing worse than spending to much money for bad parts. I’d rather work the other way and spend a little money on good cores and learn how to rebuild them myself.
Finally had time to do a little work—if anyone is still reading this.
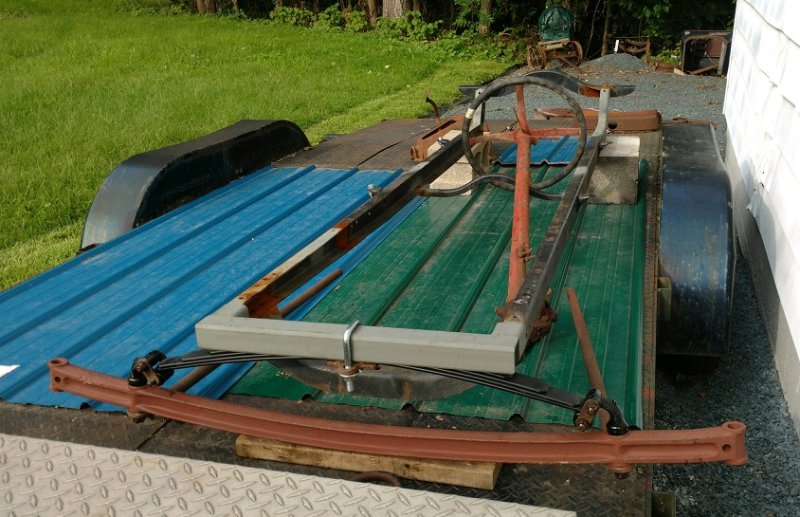
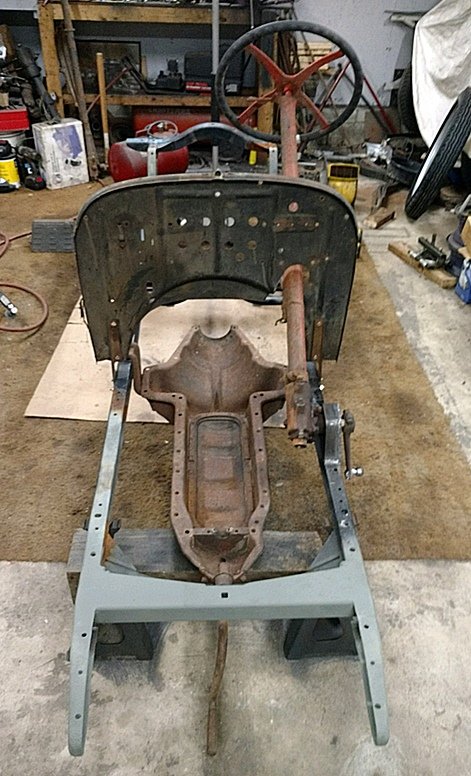
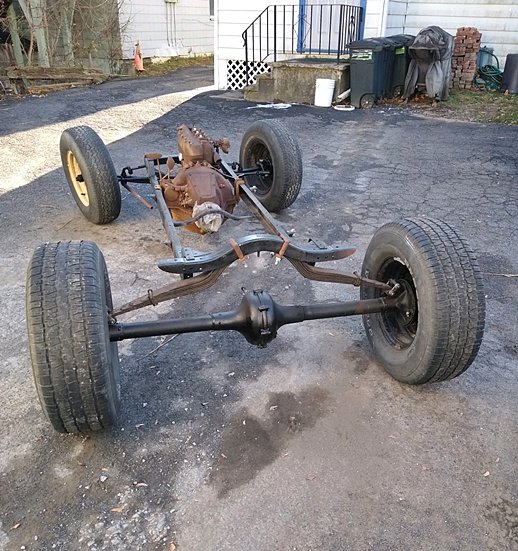
I have the front end all mocked up. Model A axle, Model T spring / perches / split wishbone. Next two major things will be brackets to the frame for the wishbones and bracket for the A steering column / gear.
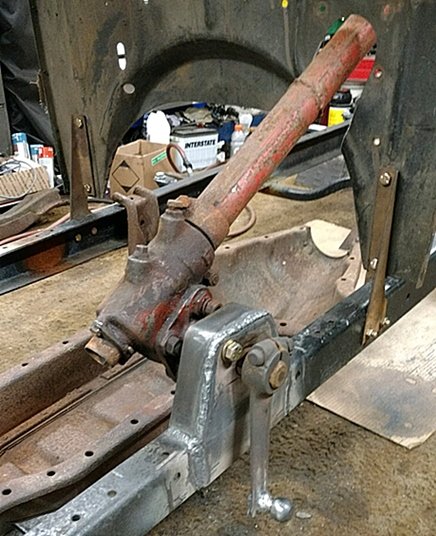
I finished up the steering box/column mount, It was another piece that tried my patience. It required the bracket to be offset a little on the frame to get the column to line up, something I didn’t realize the first time around. So I cut the side bracket back off, repositioned it all as needed and buzzed it back on. Then I built a reinforcing strip to go around the perimeter. Its super solid, the only flex is now in the frame. I also shortened the steering arm and welded on a new ball to replace the worn out one. No sense buying a cheap repop short arm already done when we have nice original parts here.
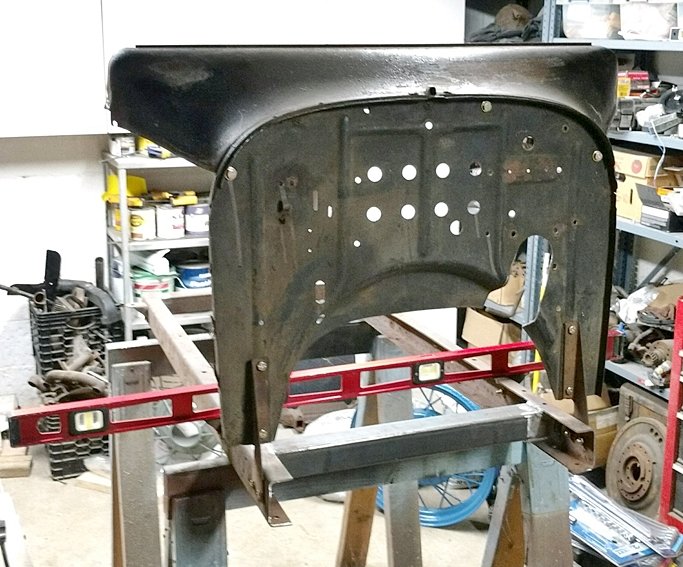
I should back up a bit also. Before I welded the reinforcing strip on the steering box mount, I decided I had to see where the firewall would sit in relation to the column. I did the typically done mod, which cuts a slot in the firewall so it can be slid around the column. Well to my surprise, and totally unplanned, the column passed right through the original hole in the the firewall. I had mocked up the column to fit me in the car, not to fit the firewall. But it all worked out great.
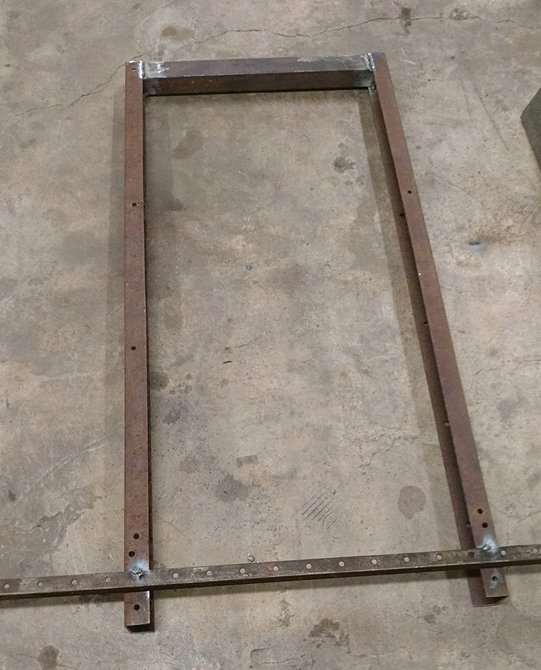
Thanks to the guys on the HAMB forums, I also fixed the front crossmember to look more like a modified Model A piece. Its way over built now, but it looks good and I am really liking how it turned out.
Starting to look like it may become a car. It will be cool to see it become a rolling chassis. Then all you need is to mock up a seat and you can sit in it and make engine noises. Fun watching it come together.
Oh boy, Oh boy, winter is here. I am totally unprepared, and assumed I would have at least through Thanksgiving to get ready. Ahh, such is the great northeast.
Today I had off from work, so I seized the opportunity to get out before the temps are expected to plummet and more snow drives in tomorrow. It was a comfortable 40 with no wind today, so I managed to get a nagging project done.
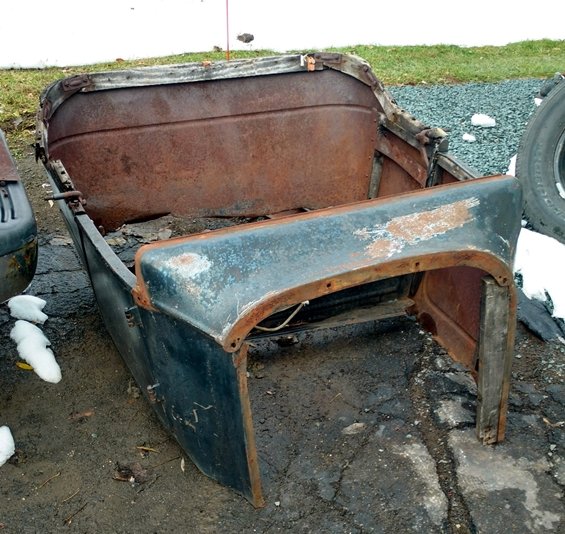
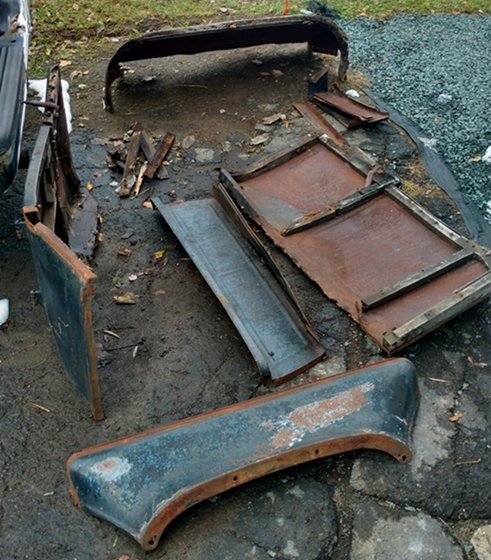
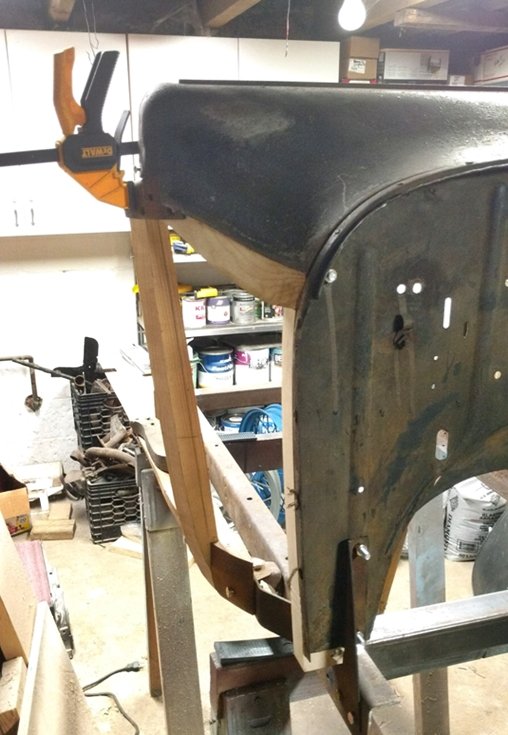
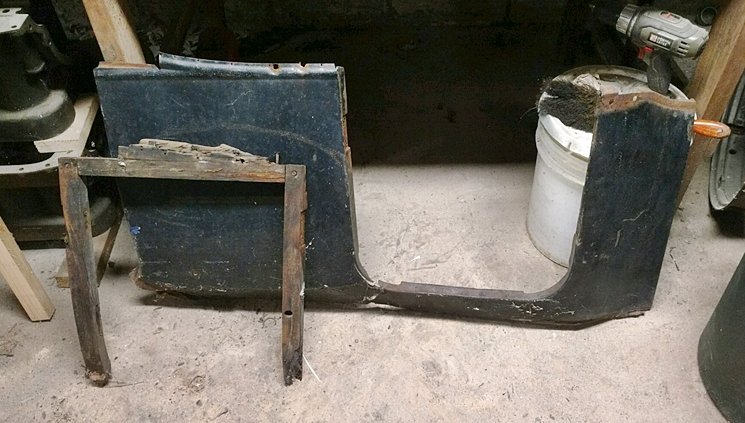
I retrieved the '24 cut off touring body from out back and brought it up to the garage. What I needed to do was separate all of it so I could remake the new wood structure. Now mind you I am what I would call a “rough work” wood worker—you know, building things with 2 x 4’s and plywood and such like that. I have actually done some finer work–mostly trim stuff, and one fireplace mantle under my belt for a friend, but I am no cabinet maker by any stretch. So this will be a journey for sure. I own a table saw, a band saw, sanders and a router, so I think I can make this happen. As wanting to keep true to the period, and being a Model T guy, there is no substitute going to happen here for the wood. I have also purchased two pieces of 8/4 x 10 feet long Ash boards to use and a set of body wood plans.
I took a whole bunch of pics for reference of how the heck this stuff is supposed to go back together, as well as hold onto the original screws that I could save so I can purchase similar new stuff (Slotted head screws of course). Being this has been sitting out side and it has been a extremely wet year, all the old wood was super soft and was hard to keep from disintegrating at the various spots I needed to dissect. All of it is now in my basement for some of those cold winter days when I want to do something but don’t feel like firing the kerosene torpedo heater up in the garage and waiting 4 hours to get to a comfortable temp.
Actually, That is the next thing. It breaks out of my “Use only pre 1935 parts”, But I have most of the setup to run the Ford 40-48 style Lockheed brakes which will keep it as old as possible to my time line—it is still prewar so I guess I am ok with that. Not what are considered by most to be the best as they do need frequent attention, but they are the closest I could get to a reliable system with good parts availability, —in fact a bought a NEW - not reman- master cylinder from my local Napa store–in stock.
The issue I now have, is what to use for the rear that I can get my hands on relatively easy. Those are obviously easier to hide, so I just need to find something that fits the housing somewhat easy. And I have a small drum and large drum housings to choose from now.
Im sorry to say no. I have a couple pieces of body wood made, but that’s about where I am.
My garage space was occupied this winter (Normally store another vehicle off site). So that hindered progress as well as another project that I needed to finish. I hope to get something more done this year, I would really like to get the chassis in a rolling state.
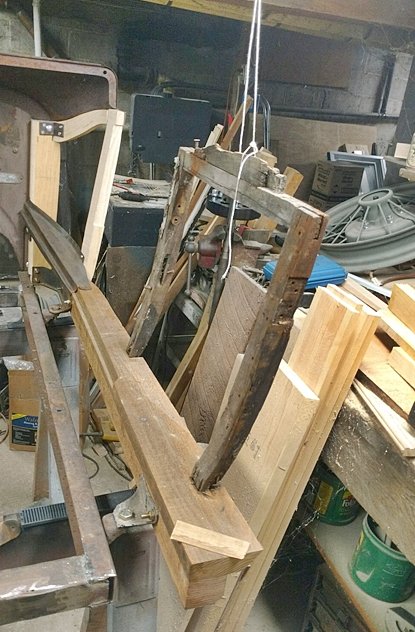
Then using some left over chunks of framerail from another T project, I built a Jig for the body so I could work on it in the basement which is promising to be a long cold winter.
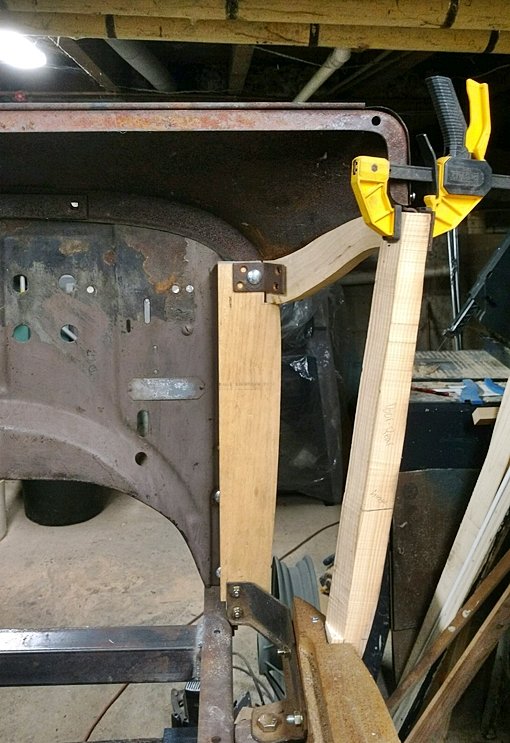
As I said, the rewooding is a HUGE pain. After cutting up a lot of good ash just to make three pieces, I have finally turned to some cheaper fir 2"x6"…at the very least to make good full patterns.
My remnants were rotted away just above the sills, and I am working with a set of new sills I was given that may or may not have the slots for the uprights cut properly…at least he did cut them in the right spots the best I can tell. So between all of that and using a set of Mel Miller plans which also don’t quite match, it has been quite the challenge.
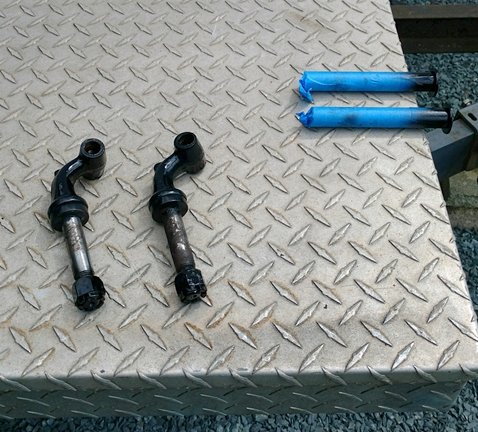
I also managed to get my front end painted and together. But again, like any project, it is not without issues.
The first thing I realized very quickly is that is that the spindle pin kit that I tried to cheap out on sucks. It contained steel backed bronze plated (or so it looked like) bushings that when reamed, took all of the bronze out…as well as most of the lube grooves. Second, even though advertised for, the spindle pin itself will not work properly with with Model A spindles, because the bearing on those goes on top and there is no real support on this type of pin. Live and learn, it’s good enough for mock up, I bought a old NOS pin and bushing kit to use on final assembly.
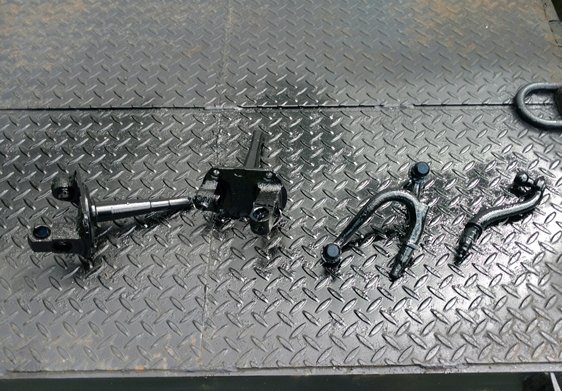
Painting up some parts
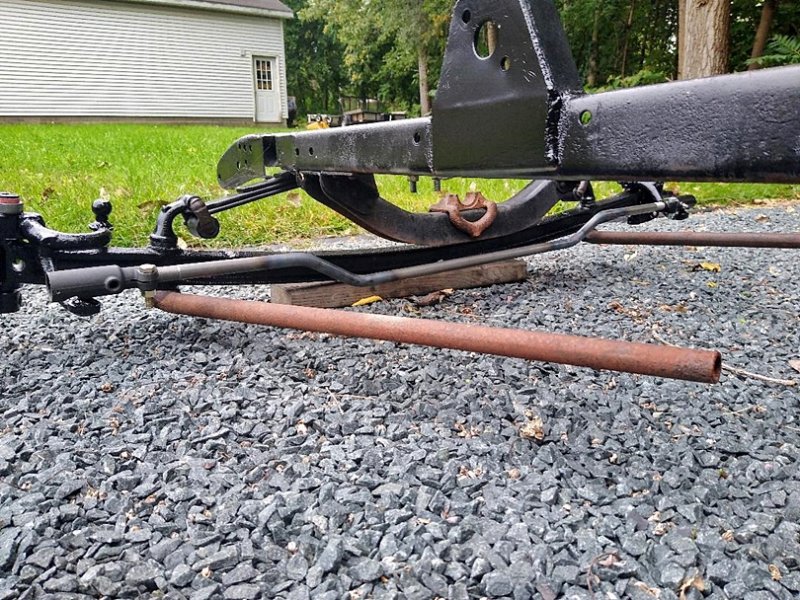
Getting it all together. Because I kept the stock front crossmember and I extended the new front crossmember 4" forward, I discovered my tie rod was going to interfere. So I made a dip in it. I may have to trim a little still off the original crossmember though. Getting the engine in will help me verify that better. The photo is a little deceiving.
Another issue I had, was my reproduction tie rod body ends did not fit. I struggled and struggled, and sought out much advise. Finally after the weekend of wondering what was going on, I called Snyder’s up to see what they said. Even though a year had passed by since my purchase, they took care of the situation better than I could have asked for. I mean they truly well well beyond. So that fixed that situation and the new ones went on with zero issues.
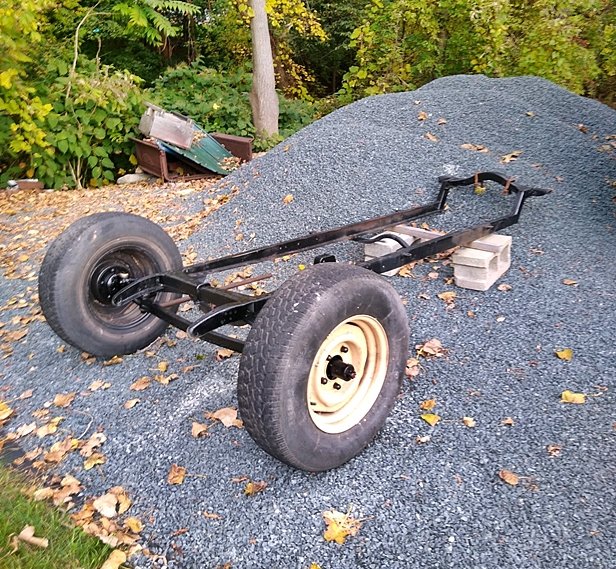
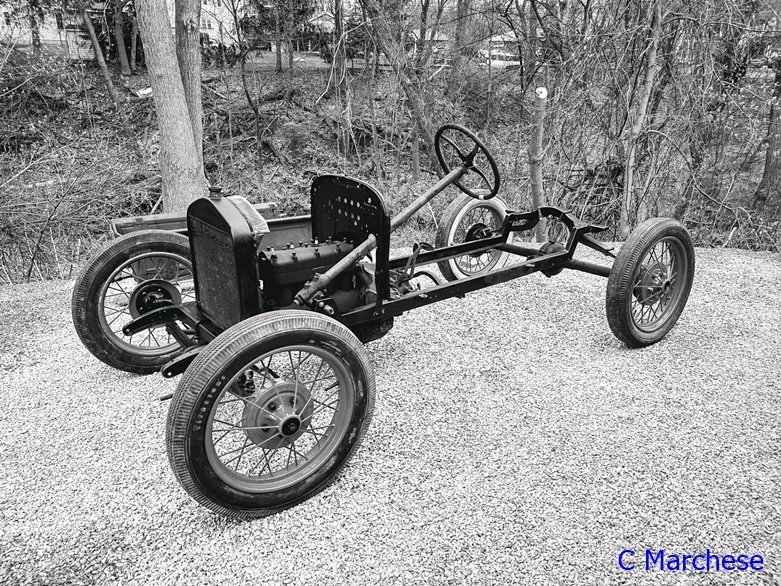
Updated: mostly junk parts bolted on just so it looks like something. The wheels are a second set and are just rollers…way to fragile to actually use. Engine is just a mock up, totally unusable.
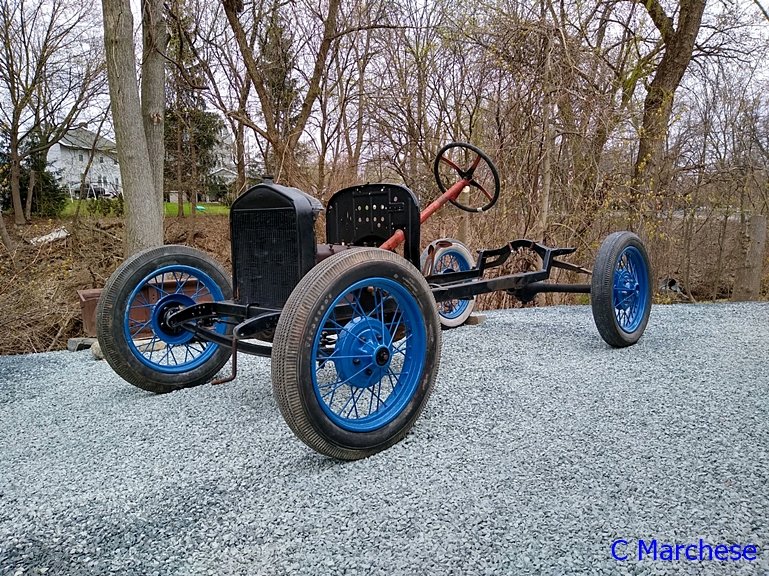
It will be yes. Those are just old mock up 21" A wheels. The wheels I posted above in my Nov 19, 2019 post are the 19" wheels I will be using and the actual color. Both the blues while similar are hard to capture accurately in photos. The body and frame will remain black.