I started this build last October (2016). From the start I knew I was going to build a bobbed tailed speedster. I knew I wanted the wheelbase to be around 90 inches. I also knew I was going to use the Laurel racing chassis and John Gerber’s race car as inspiration. So let’s start at the beginning. She is a 1927 Touring chassis. The body has been gone for quite some time. I acquired the chassis and some interesting parts along with the chassis for very little money. Well I considered it a good deal. Here she is the day I brought her home.
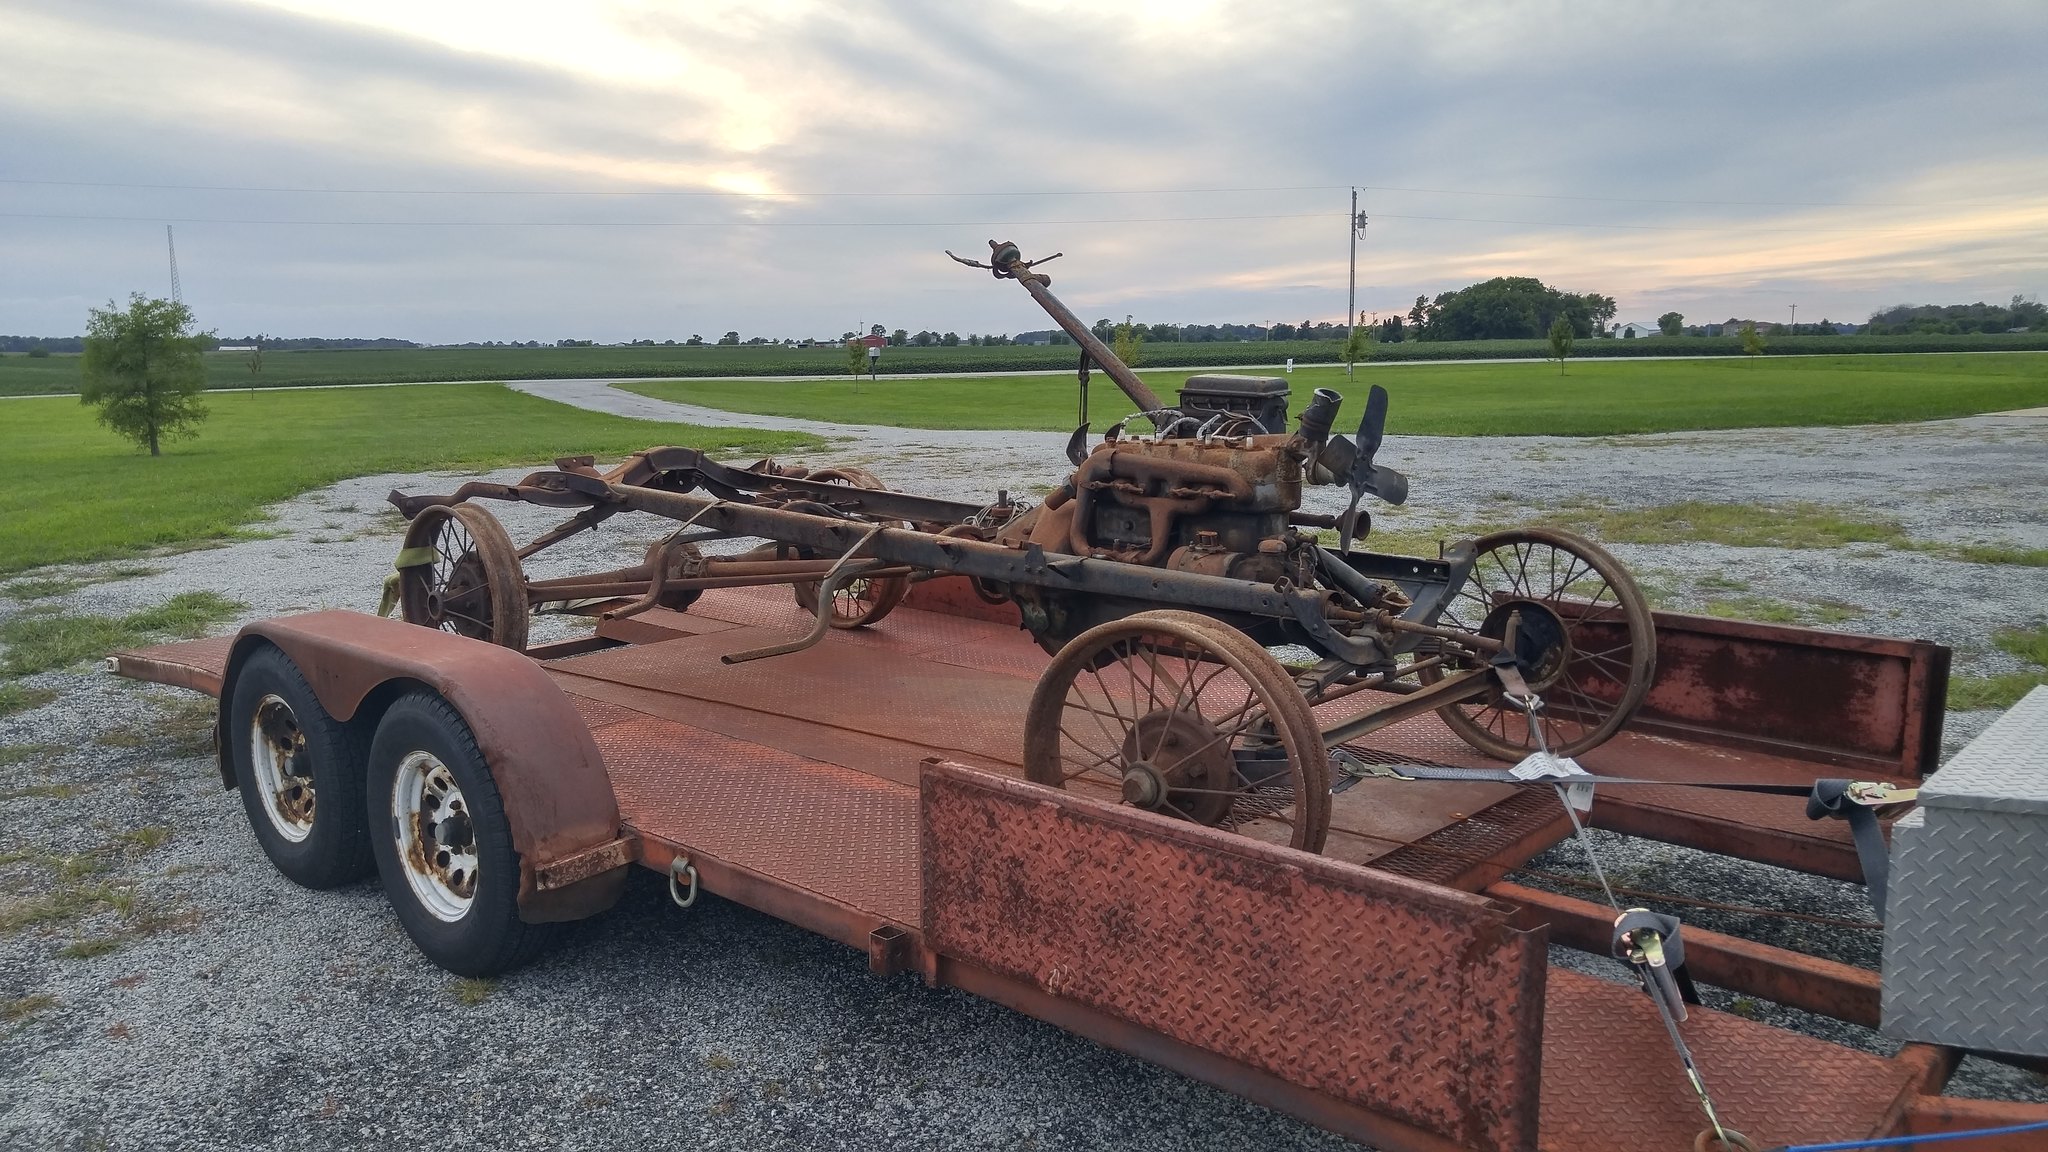
20160823_195655_HDR by Tim Robbins, on Flickr
I spent the next couple months researching, dismantling, and trying to save rusty old parts off the chassis. And I had some good success at that I might add. It wasn’t until March of this year that the car started taking on some character. I moved the engine back in the frame 8 1/2 inches and built a new front cross member. I found a set of 1927 Chevy front spindles and steering arms. I split the front wishbones and attached them to axle and chassis using home made brackets. I tried to make the hand fabricated parts look a bit on the manufactured side and tried to give them a cast look and I would carry this theme throughout the build.
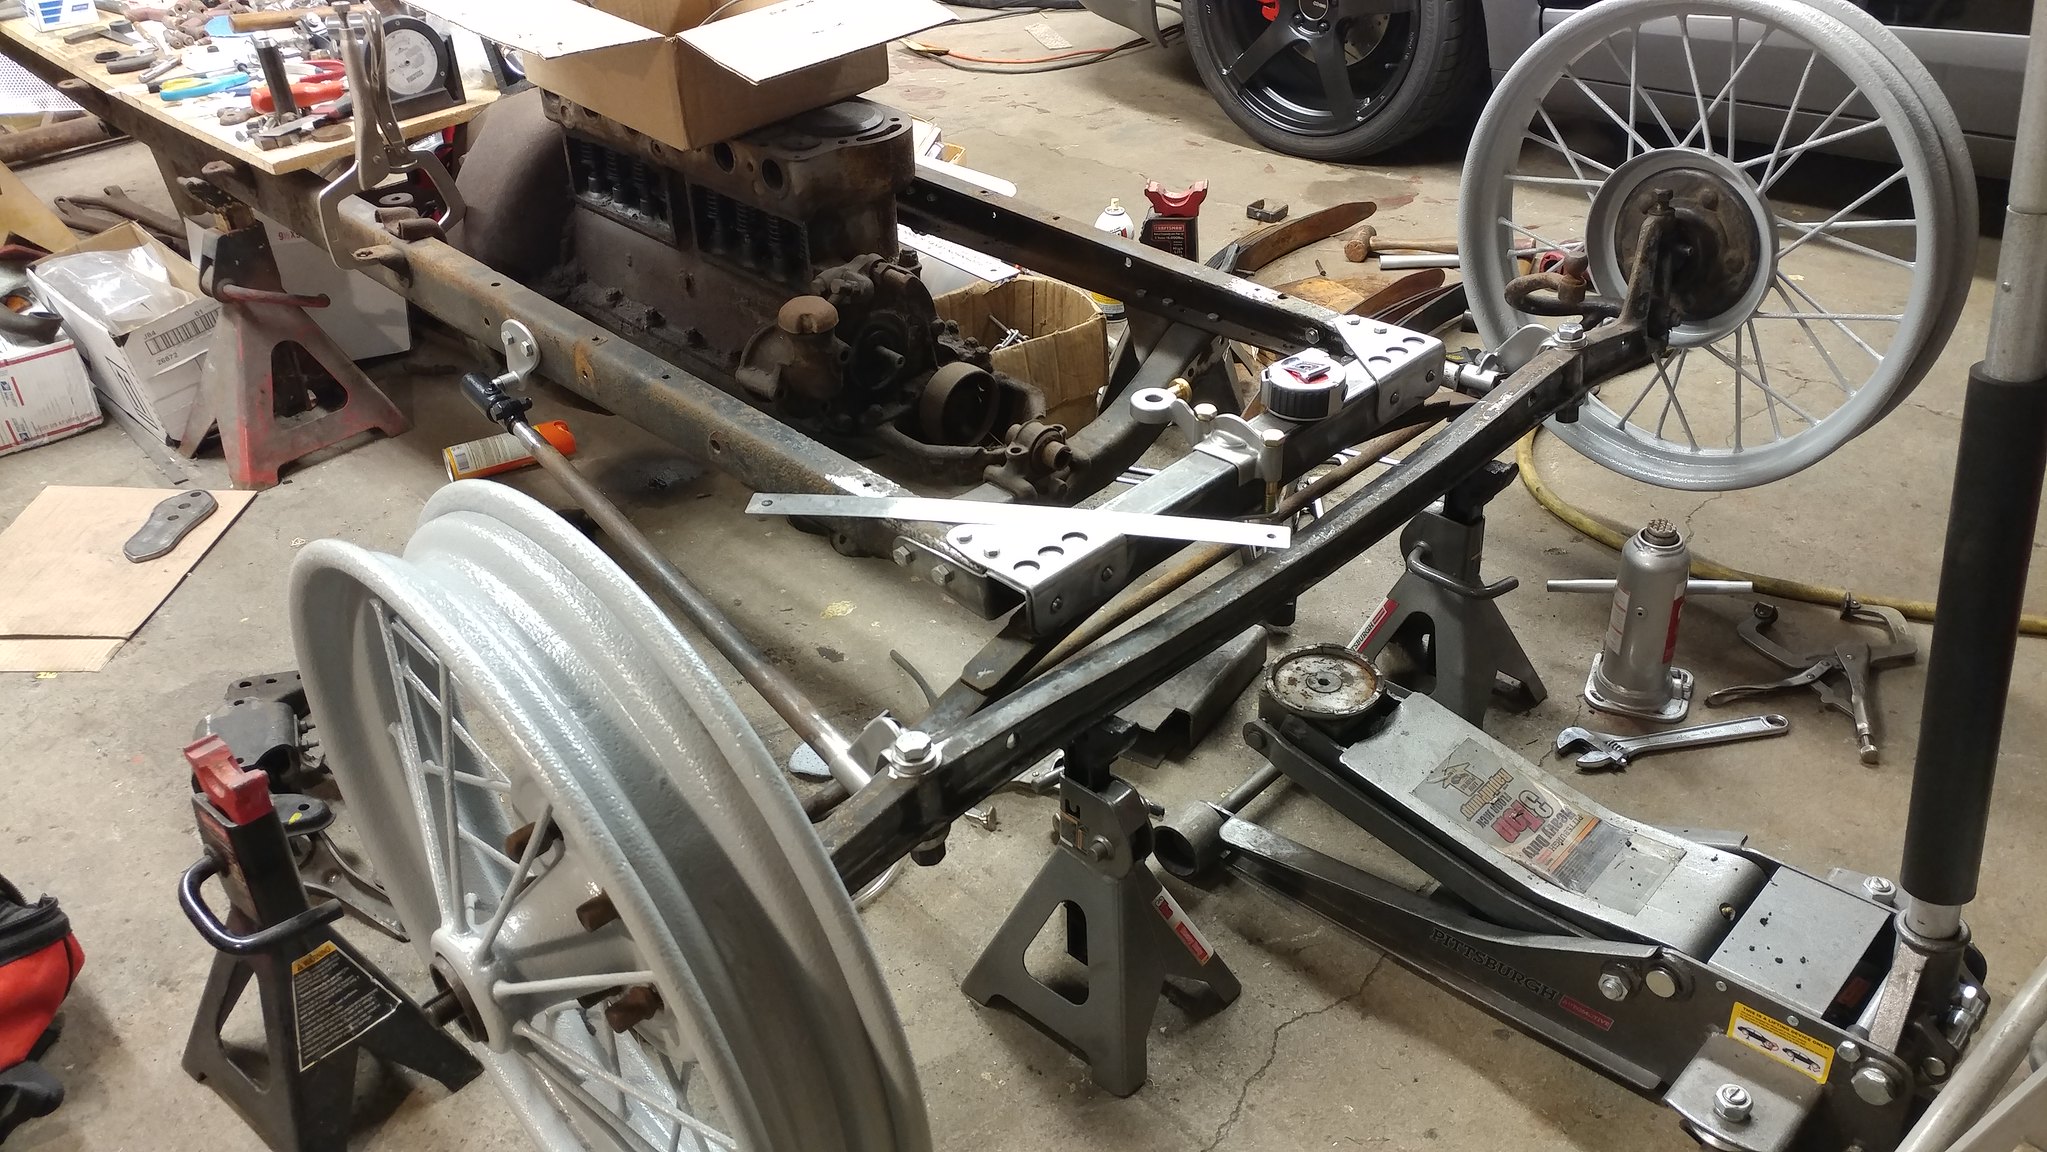
20161216_221902 by Tim Robbins, on Flickr
Tackling the rear of the car was going to be the hardest part. With careful calculations ( Precision Guess Work ) I was looking at removing over 20 inches of frame rail off the rear of the chassis to achieve a 90 inch wheelbase. So I removed the rear cross member and began cutting the chassis .I narrowed the rear cross member and flipped it upside down to reinstall it in the chassis. This weirdly worked out as if it were meant to be. I did notch the center to allow the axle to clear on rebound but other than that it needed nothing as the axle set entirely above the cross member now. I made a set of rear quarter elliptical springs by splitting the front spring off a 35 Ford Pickup in half. I removed a few leafs to lighten the spring rate some. Time will tell if more need removed. I made rear spring mounts and clamps and started figuring out how I was going to attach the springs to the rear end.
In between figuring all the rear end stuff out I also worked on the steering. I got this very cool old steering column with the T chassis. It’s a Gemmer steering box with a beautiful wood steering wheel with aluminum spokes. I have no idea what the box is off of but it looks to be from around the mid to late 1920’s. The aluminum spokes on the wheel polished up like new. I had the sector shaft machined to accept a model A pitman arm. I then fabricated a steering box mount, again keeping with the manufactured cast look theme.
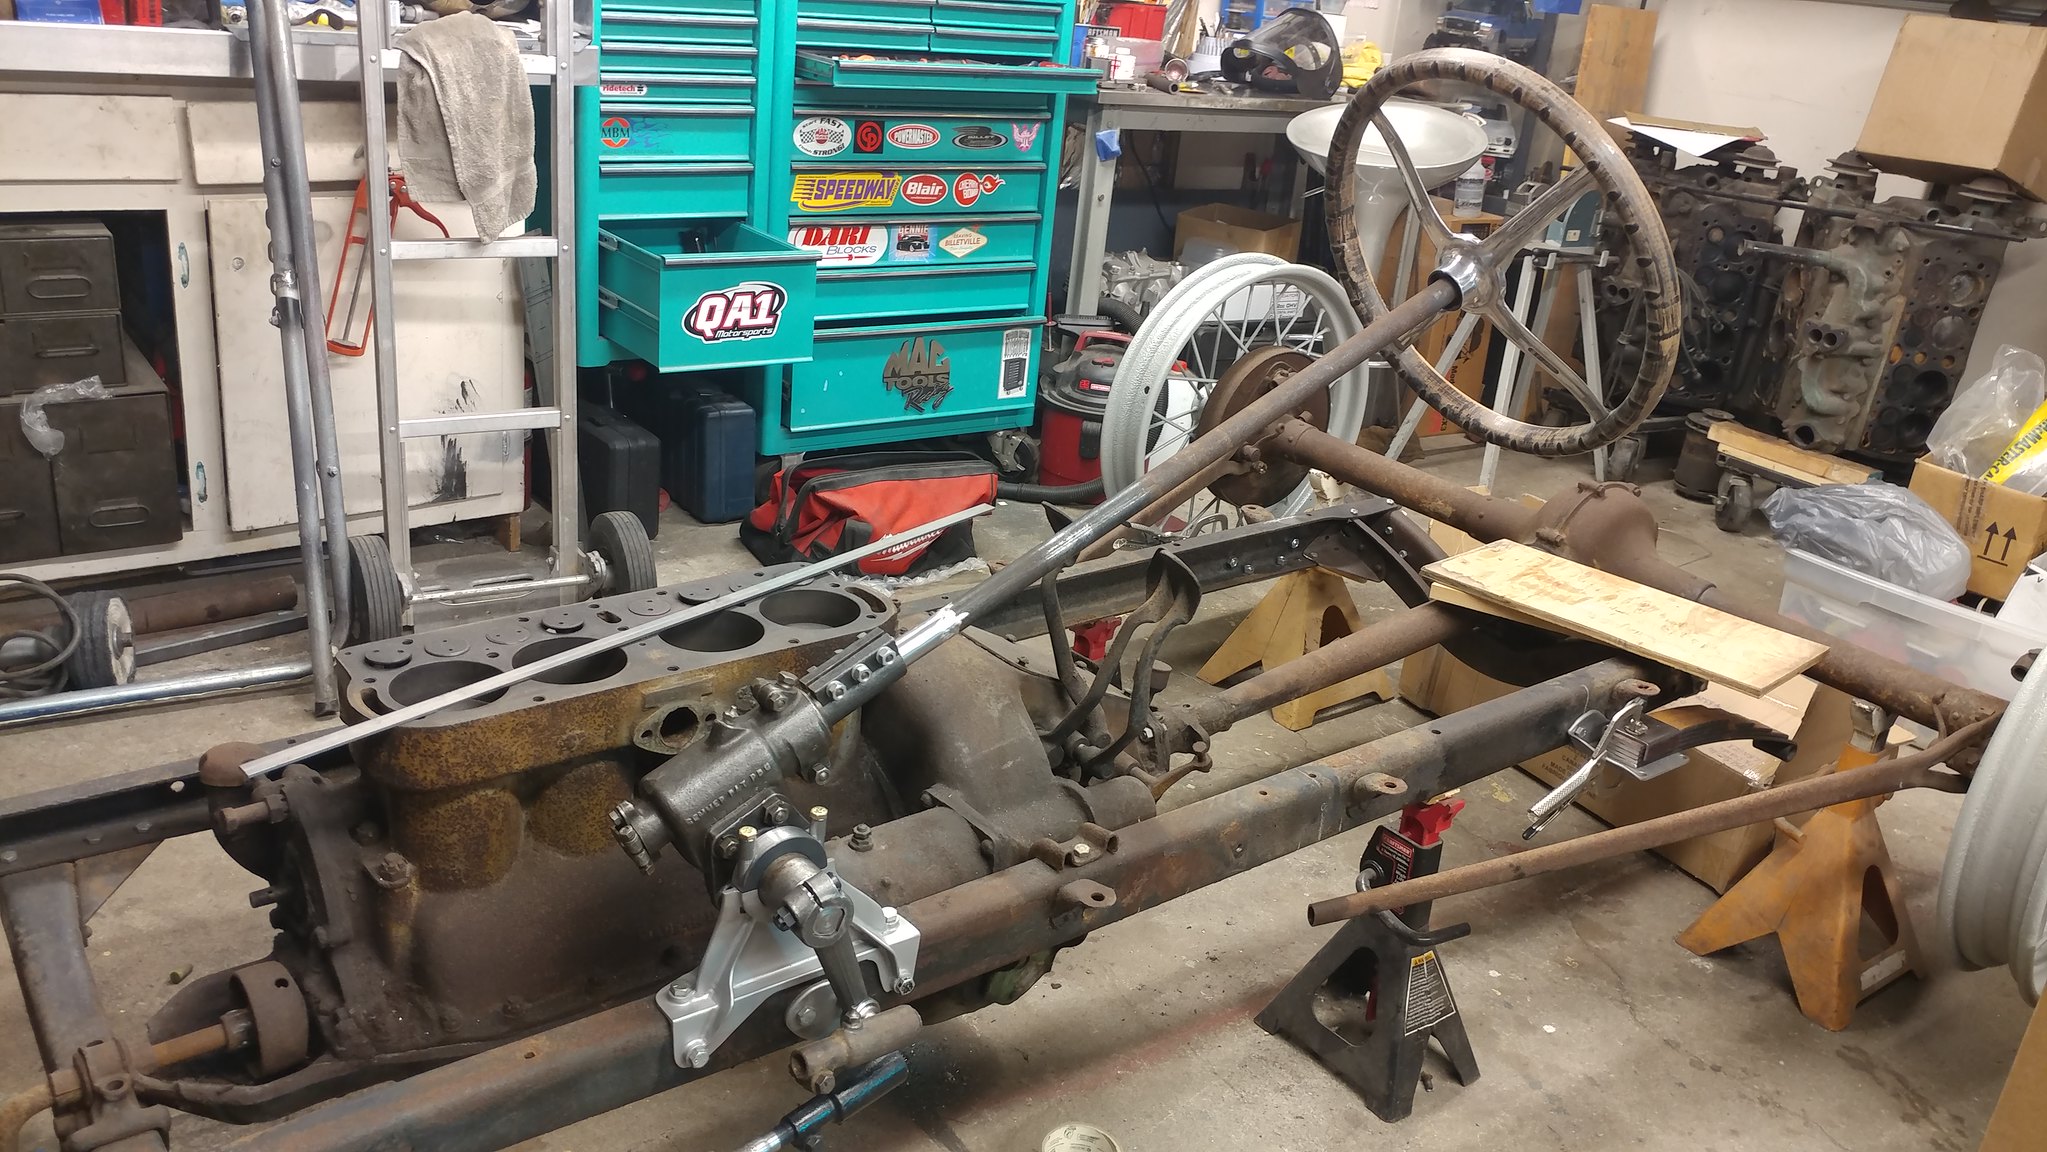
20170325_220212 by Tim Robbins, on Flickr
That just about bring us current with the build. I’ll have some updated pics in the near future. I’m working on the rear spring shackle mounts now as well as hooking up the rear brakes again. I’m also building a fuel tank as well getting some badly needed items like the tires and tubes. I need these to final check ride height and ground clearance so I can make adjustments if needed.
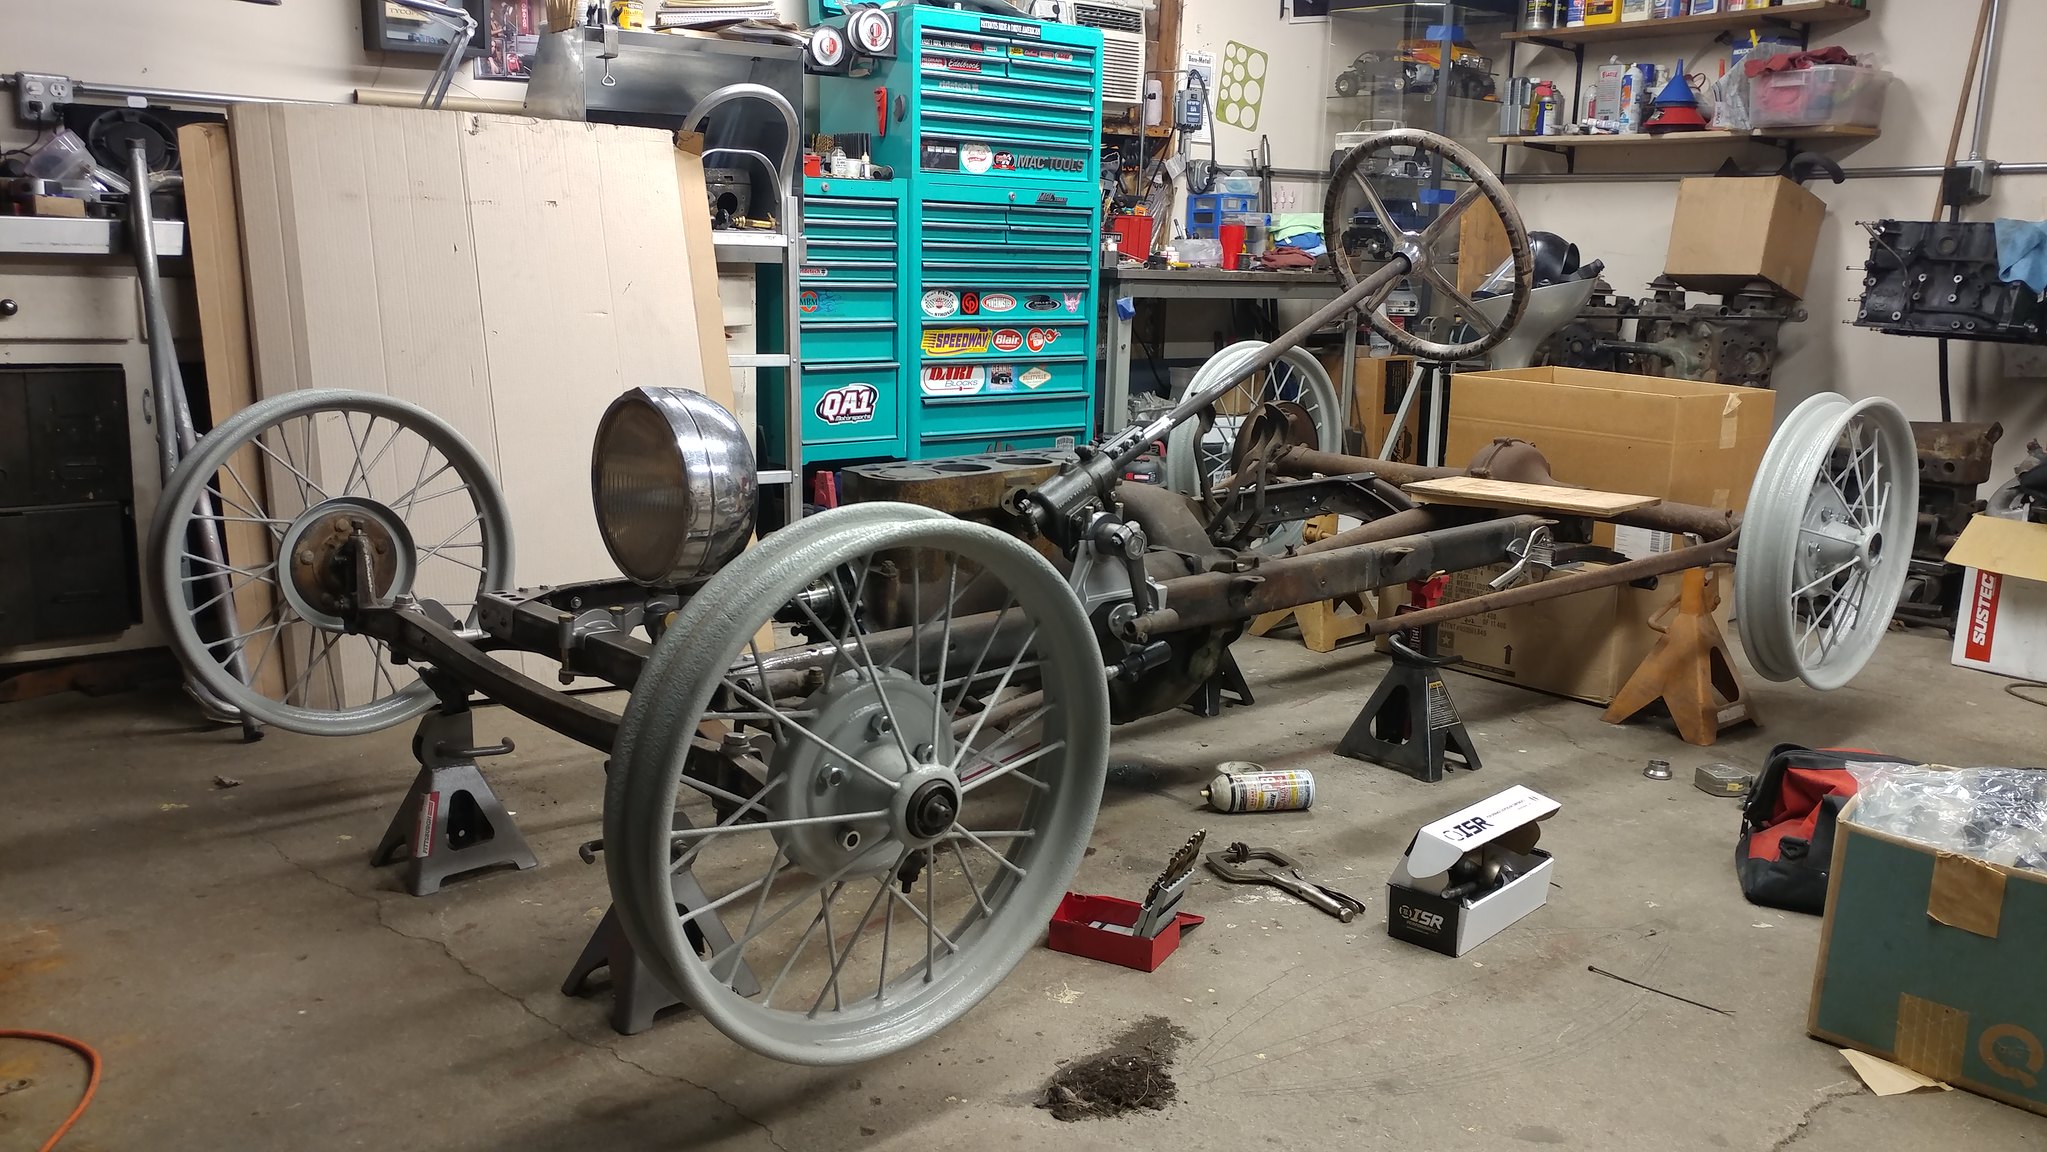
20170416_111859 by Tim Robbins, on Flickr
Looks great. What do you have in mind for body styling ?
The single, centered headlight ???
Awesome fabrication on this one. I like it!
Raoul Von S.
Oh Yes! The single centered headlight!! 
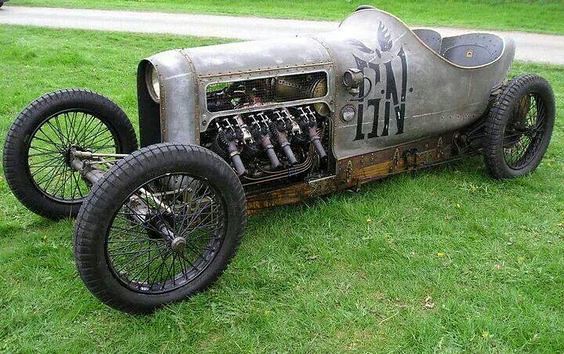
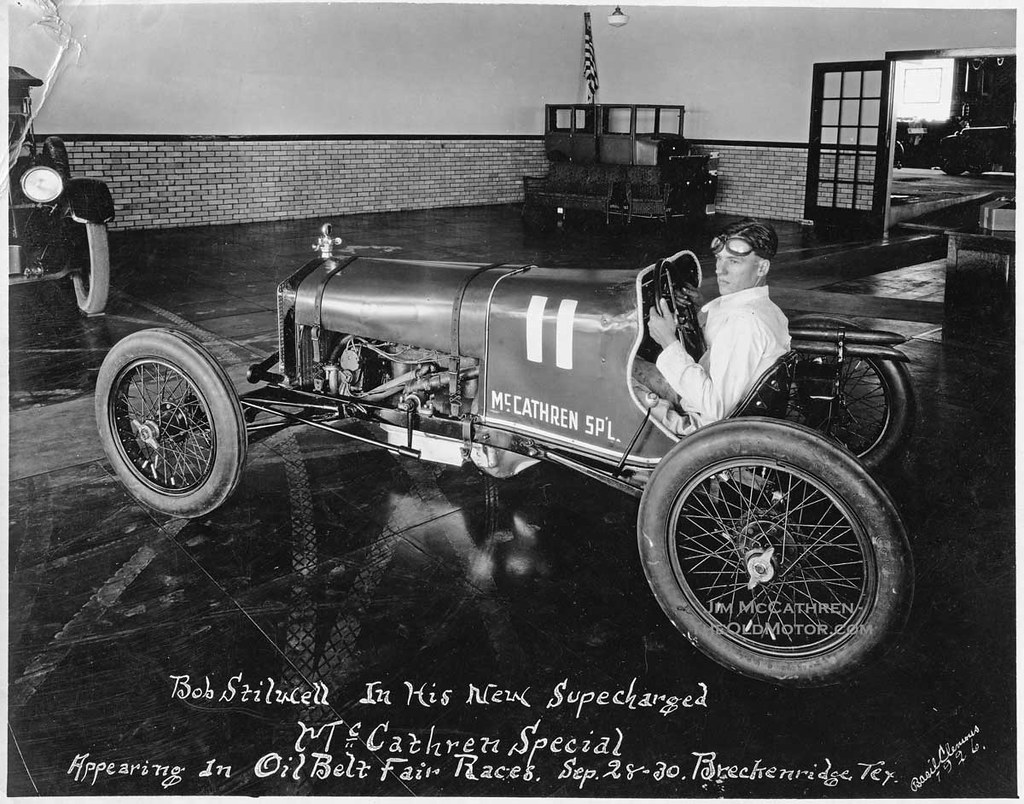
as far as body style, I think I’m going to do a miss-match cross between a late 1920’s American dirt track special and a UK post WWI special. I love the way these two cars I pictured below look so probably a little bit of both of them.

1 (4) by Tim Robbins, on Flickr
The McCathren special
1 (20) by Tim Robbins, on Flickr
GN Jap V8
Those are great. I really appreciate the sculpted body and
openings. So many speedsters are done without doing anything
more than stripping the stock body off. What does the driver
have for back support with something like the McCathren Special ?
Seems like that would get tiring pretty fast.
Oh, it has a seat with a back on it. It is just very low in that car so you can’t see it in that photo. This seat seems to be typical of the day on the old American dirt track cars. Most all of the bobbed tailed versions had a similar seat. Here’s the McCathren Special from another angle.
1 (30) by Tim Robbins, on Flickr
Also hard to see in that pic is that they offset the left frame rail from the cowl back so the driver seat could be lowered within the frame
Also hard to see in that pic is that they offset the left frame rail from the cowl back so the driver seat could be lowered within the frame.
Please keep us updated on your progress!
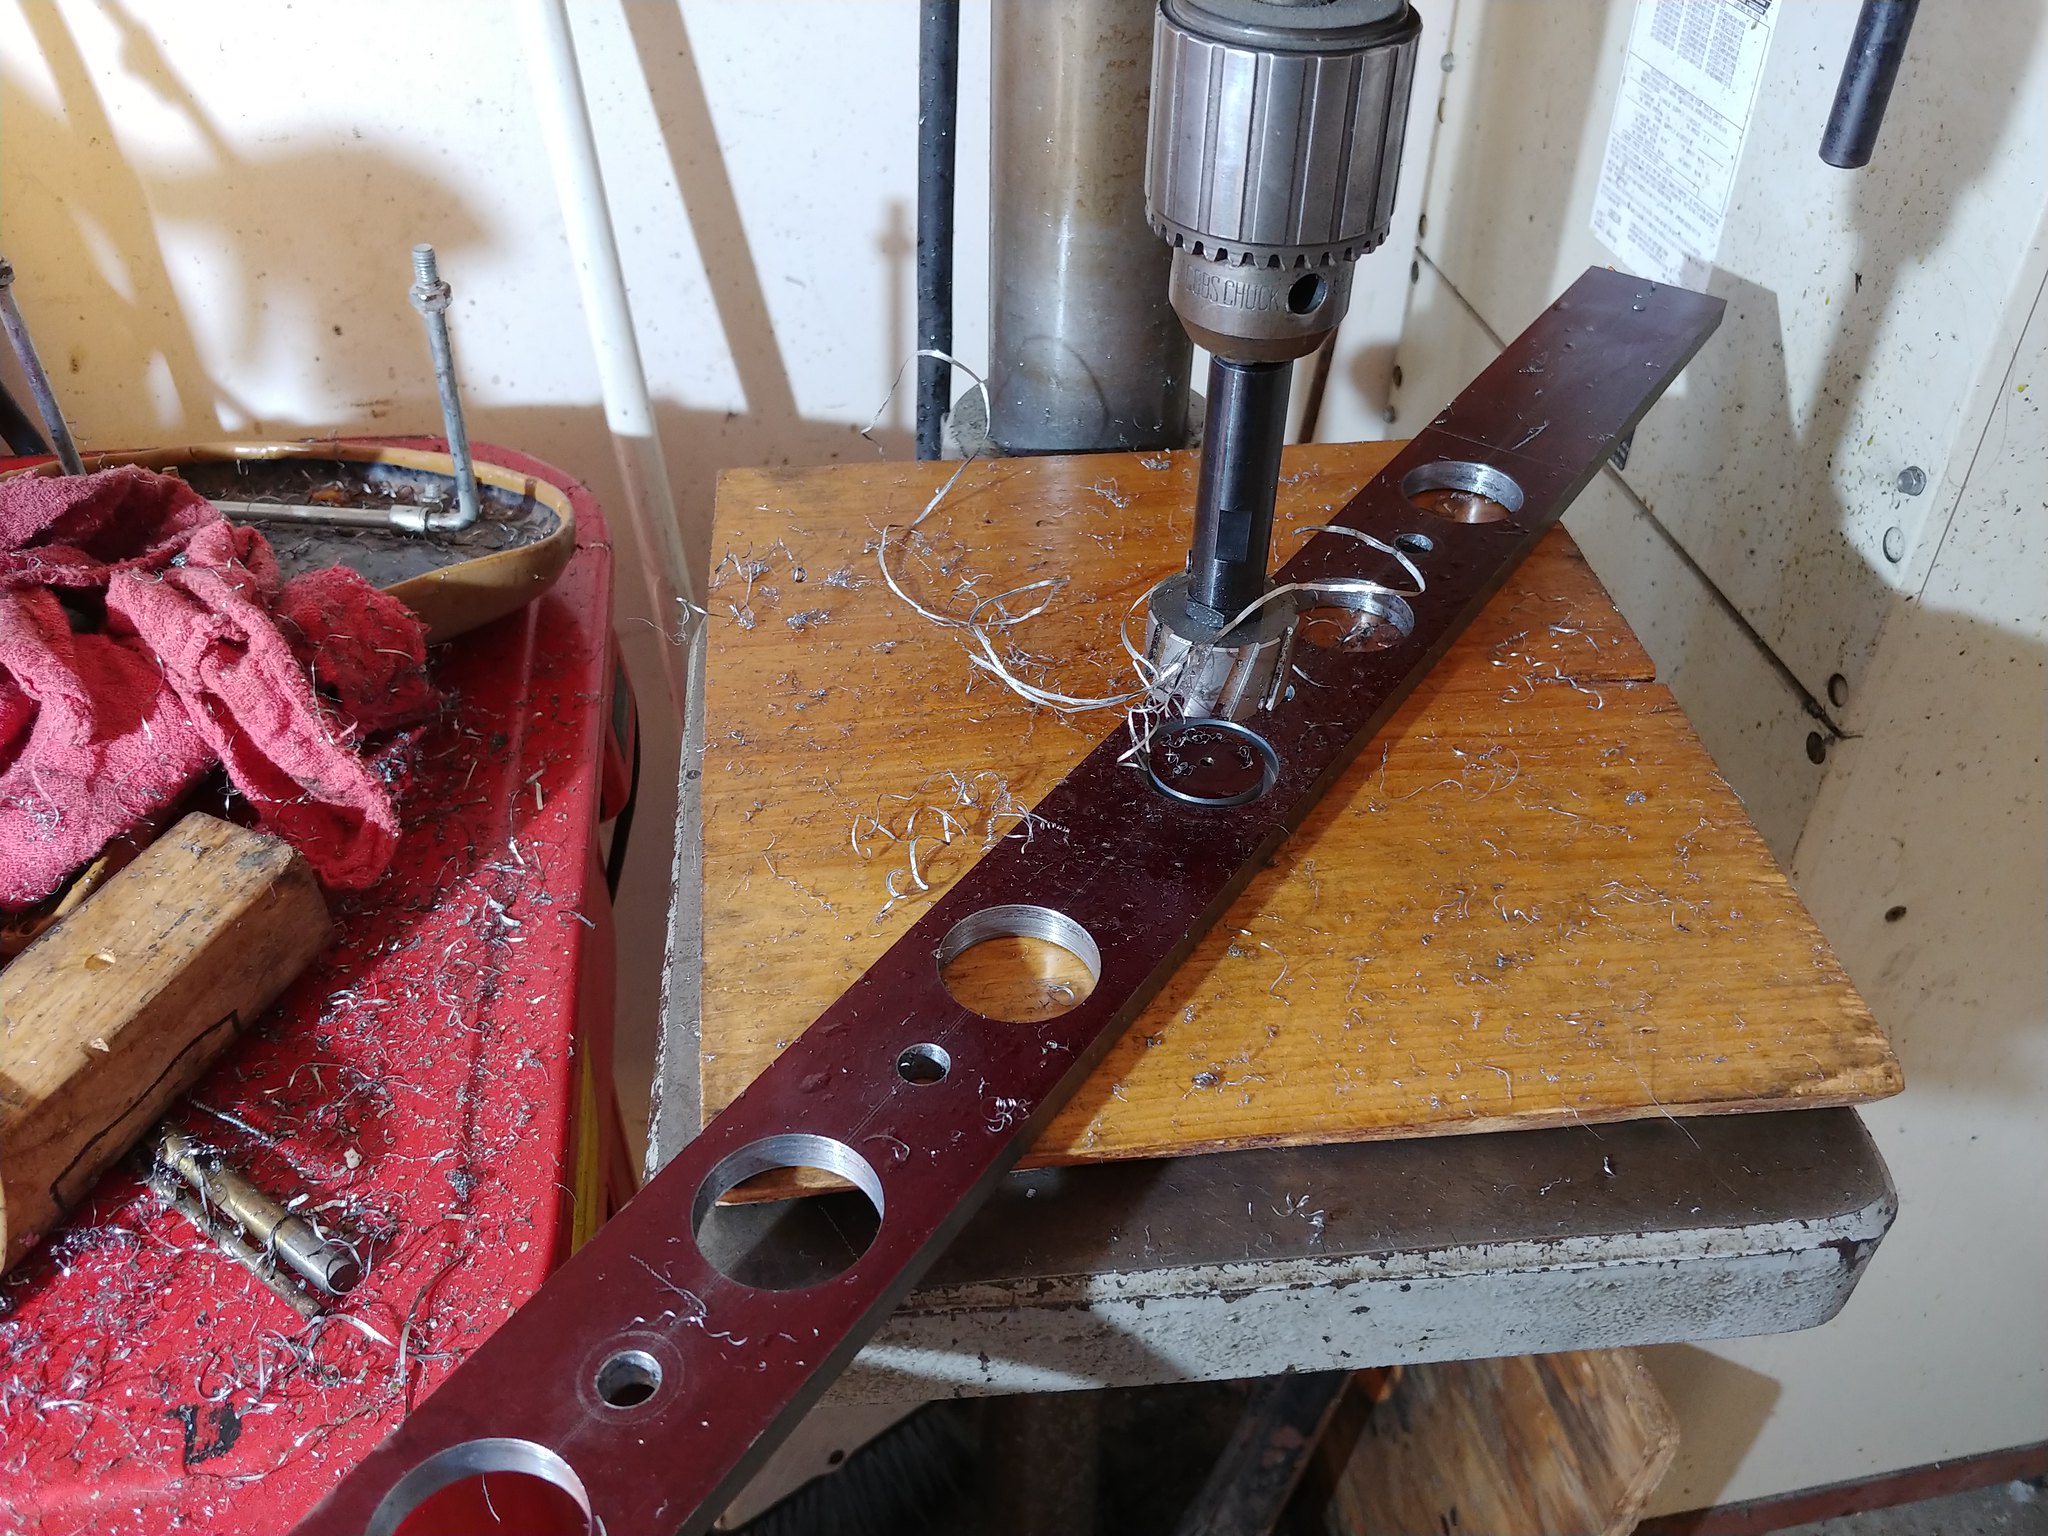
Made my exhaust header flange this week. This is made from 3/8 thick steel bar.
20171203_133644 by Tim Robbins, on Flickr
20171219_201520 by Tim Robbins, on Flickr
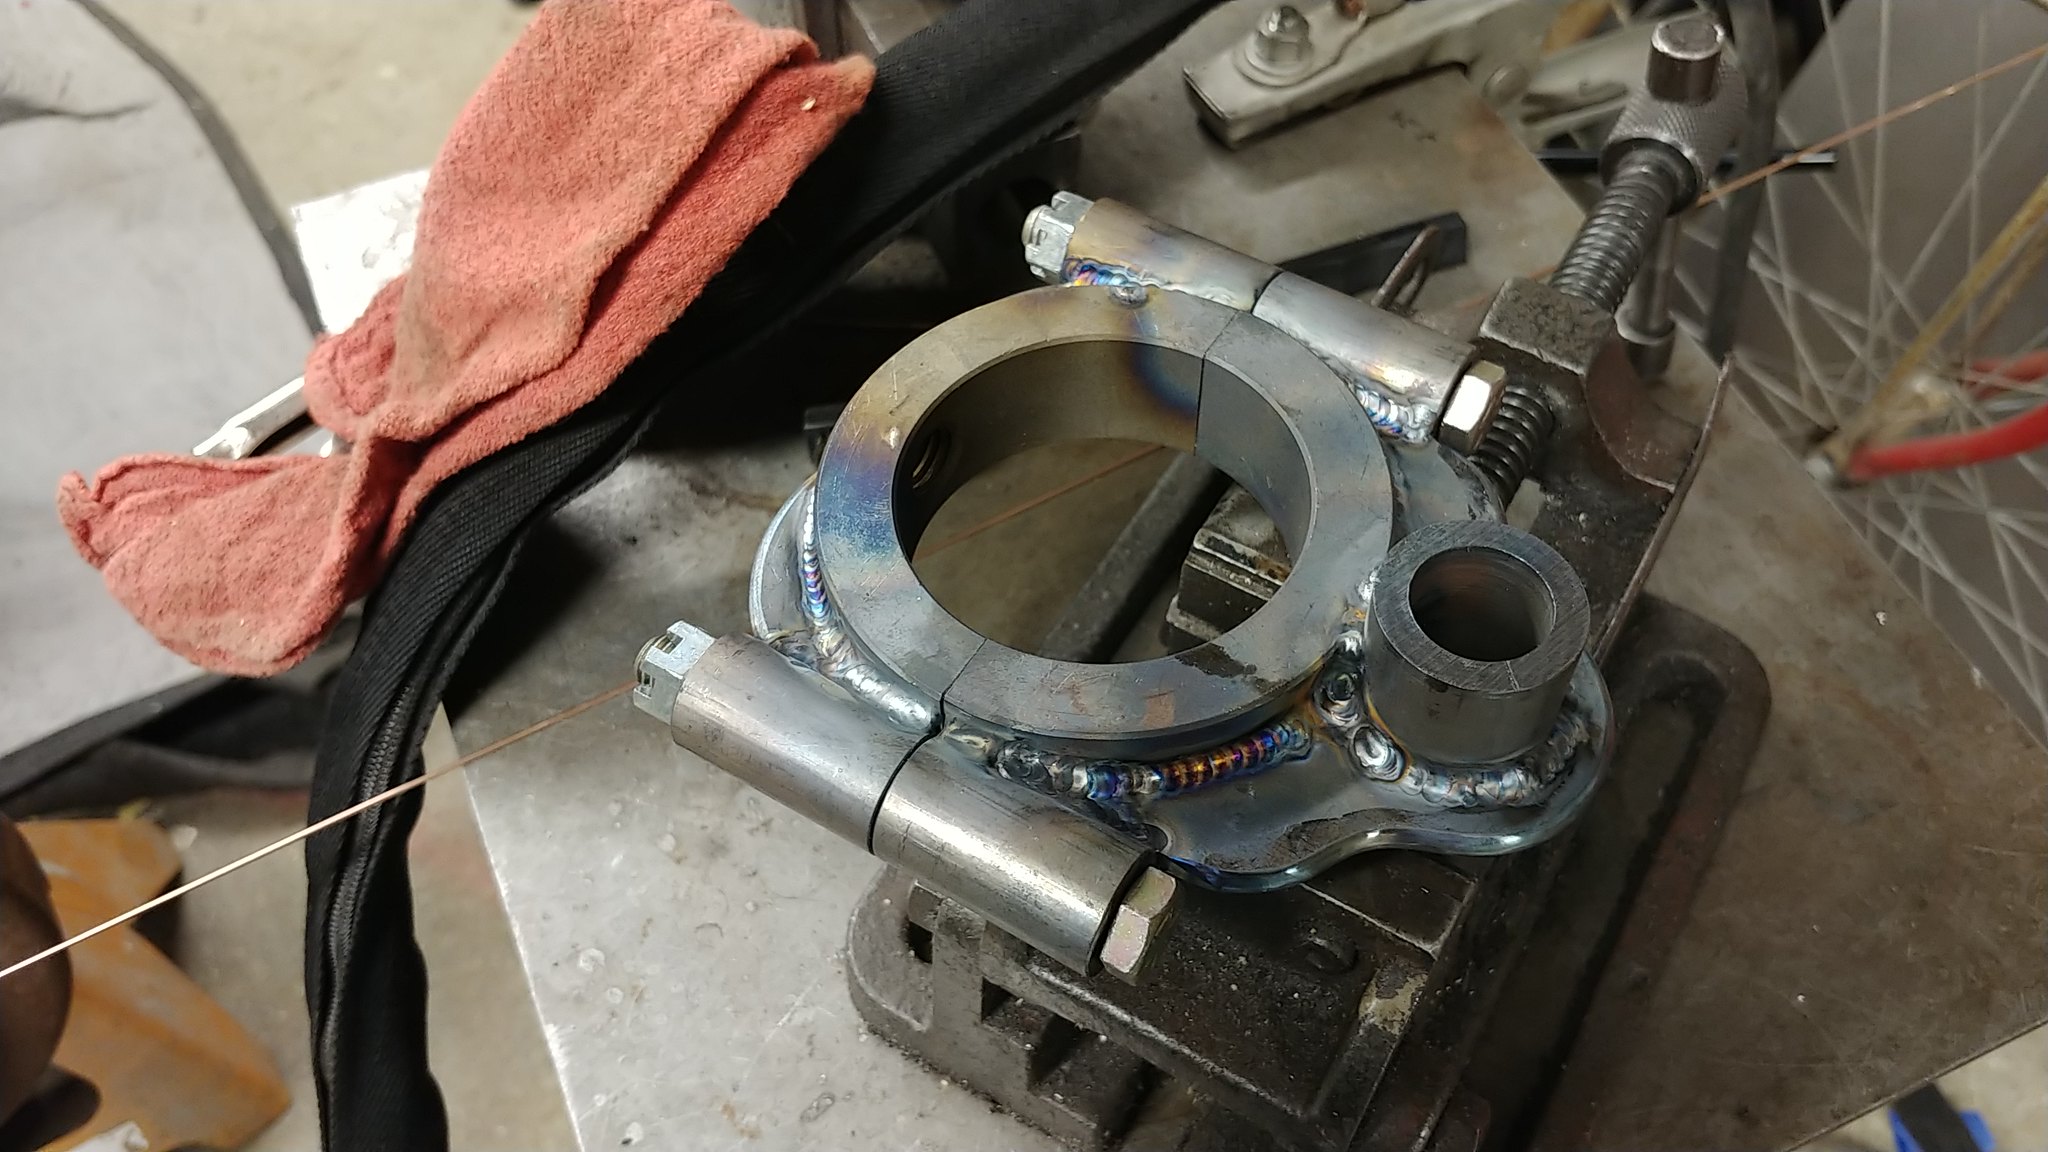
I also got one of my rear shackle hangers nearly completely welded up. Still need to detail the welds and media blast them.
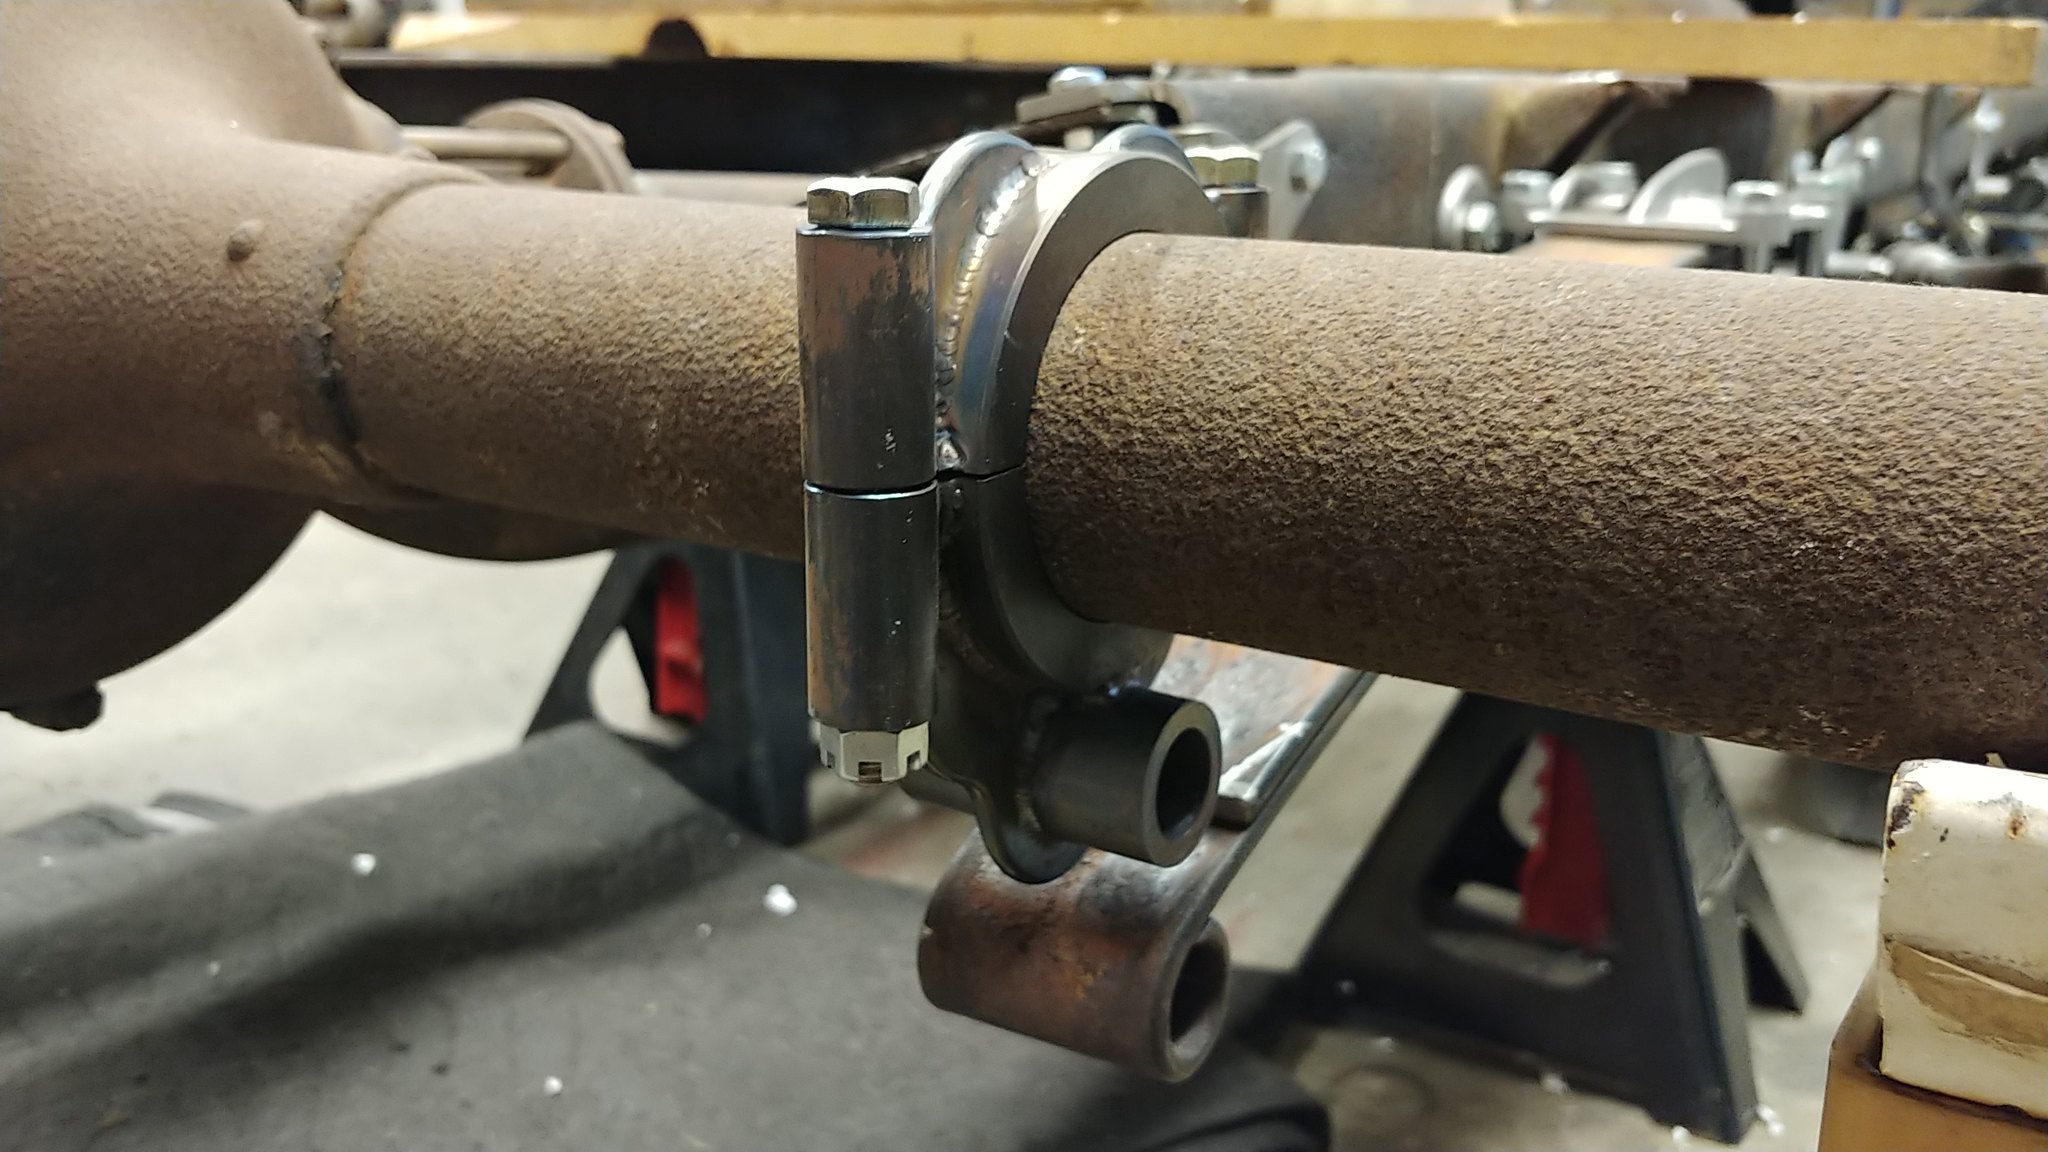
20171219_203749 by Tim Robbins, on Flickr
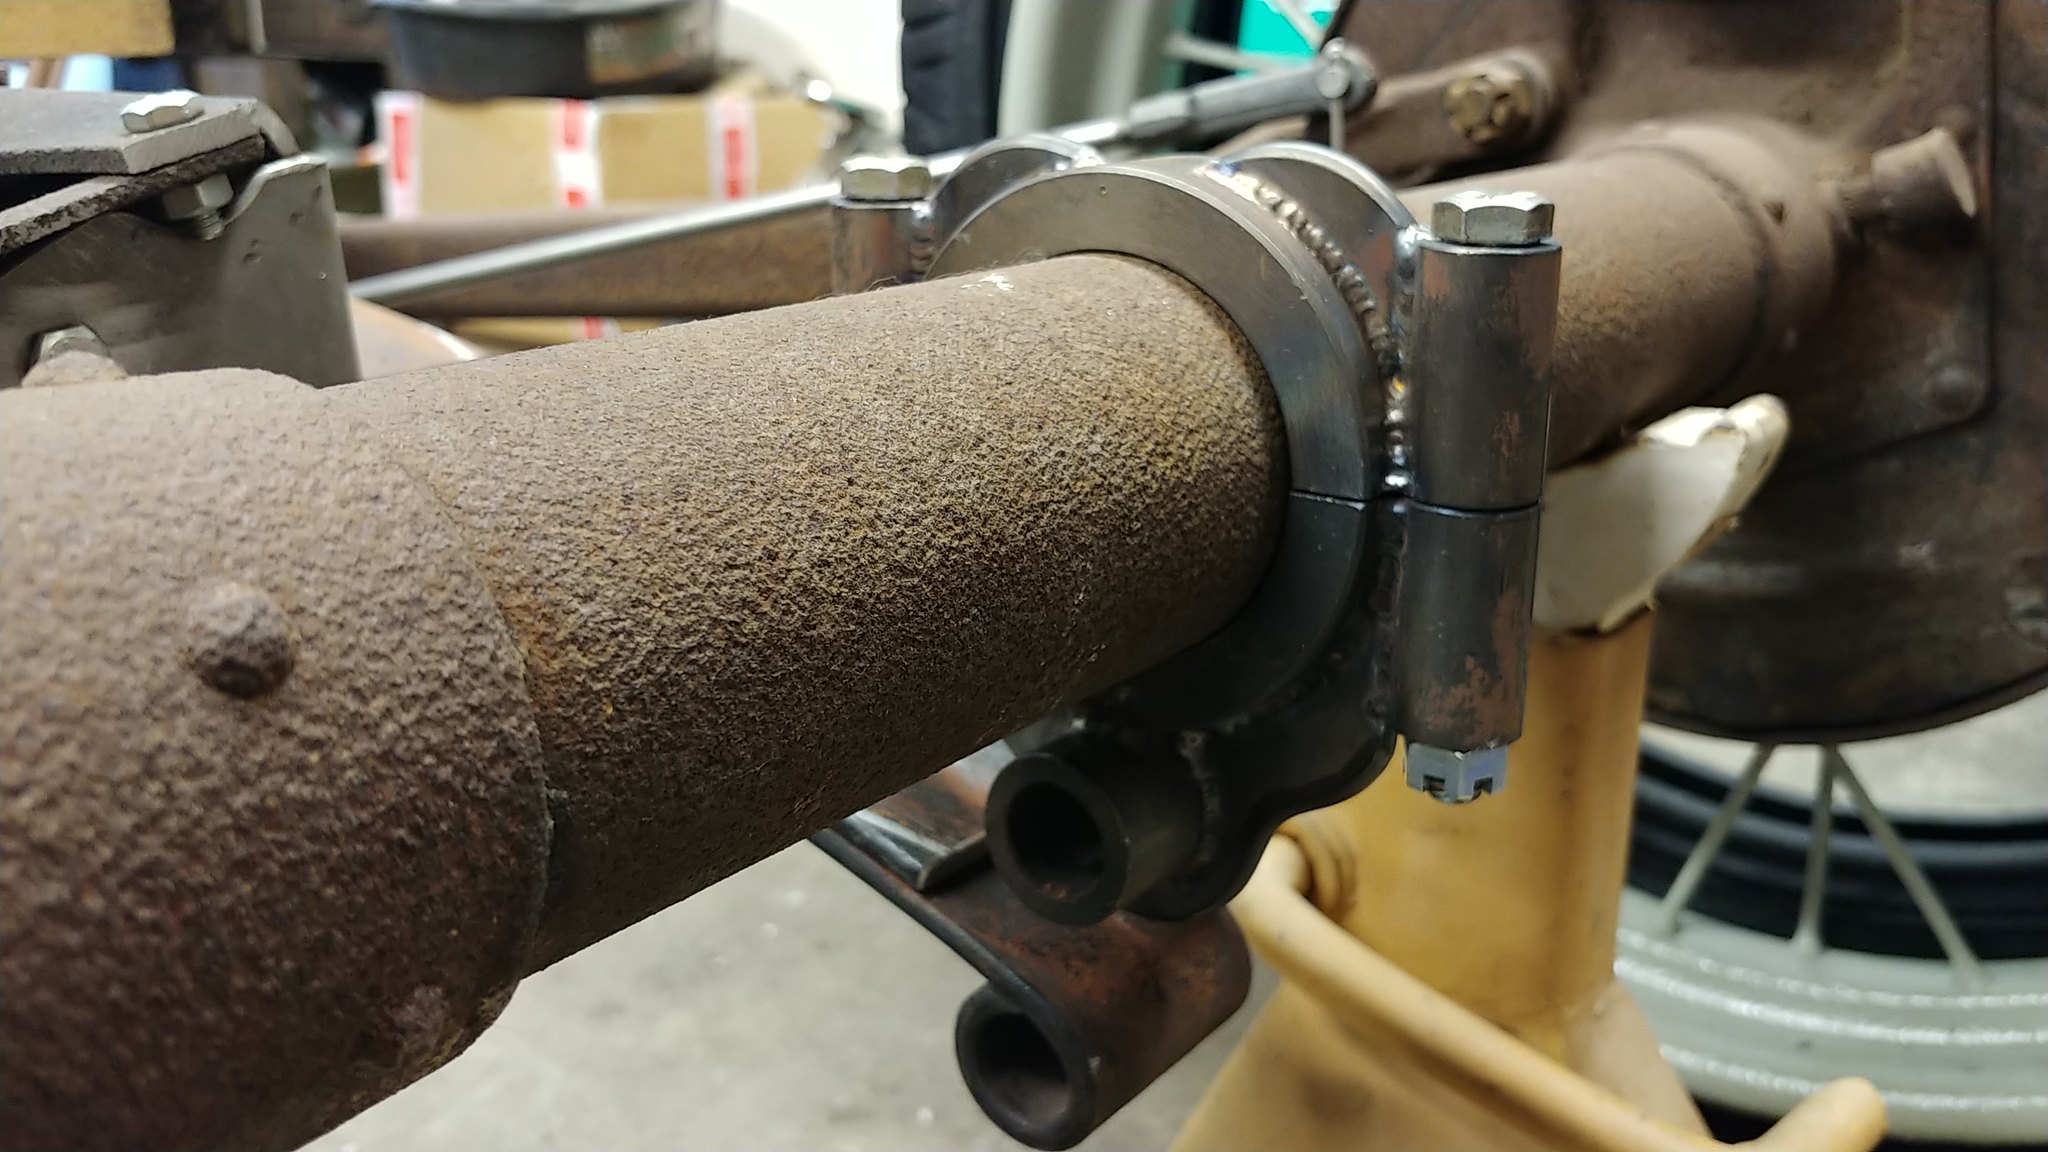
20171219_203801 by Tim Robbins, on Flickr
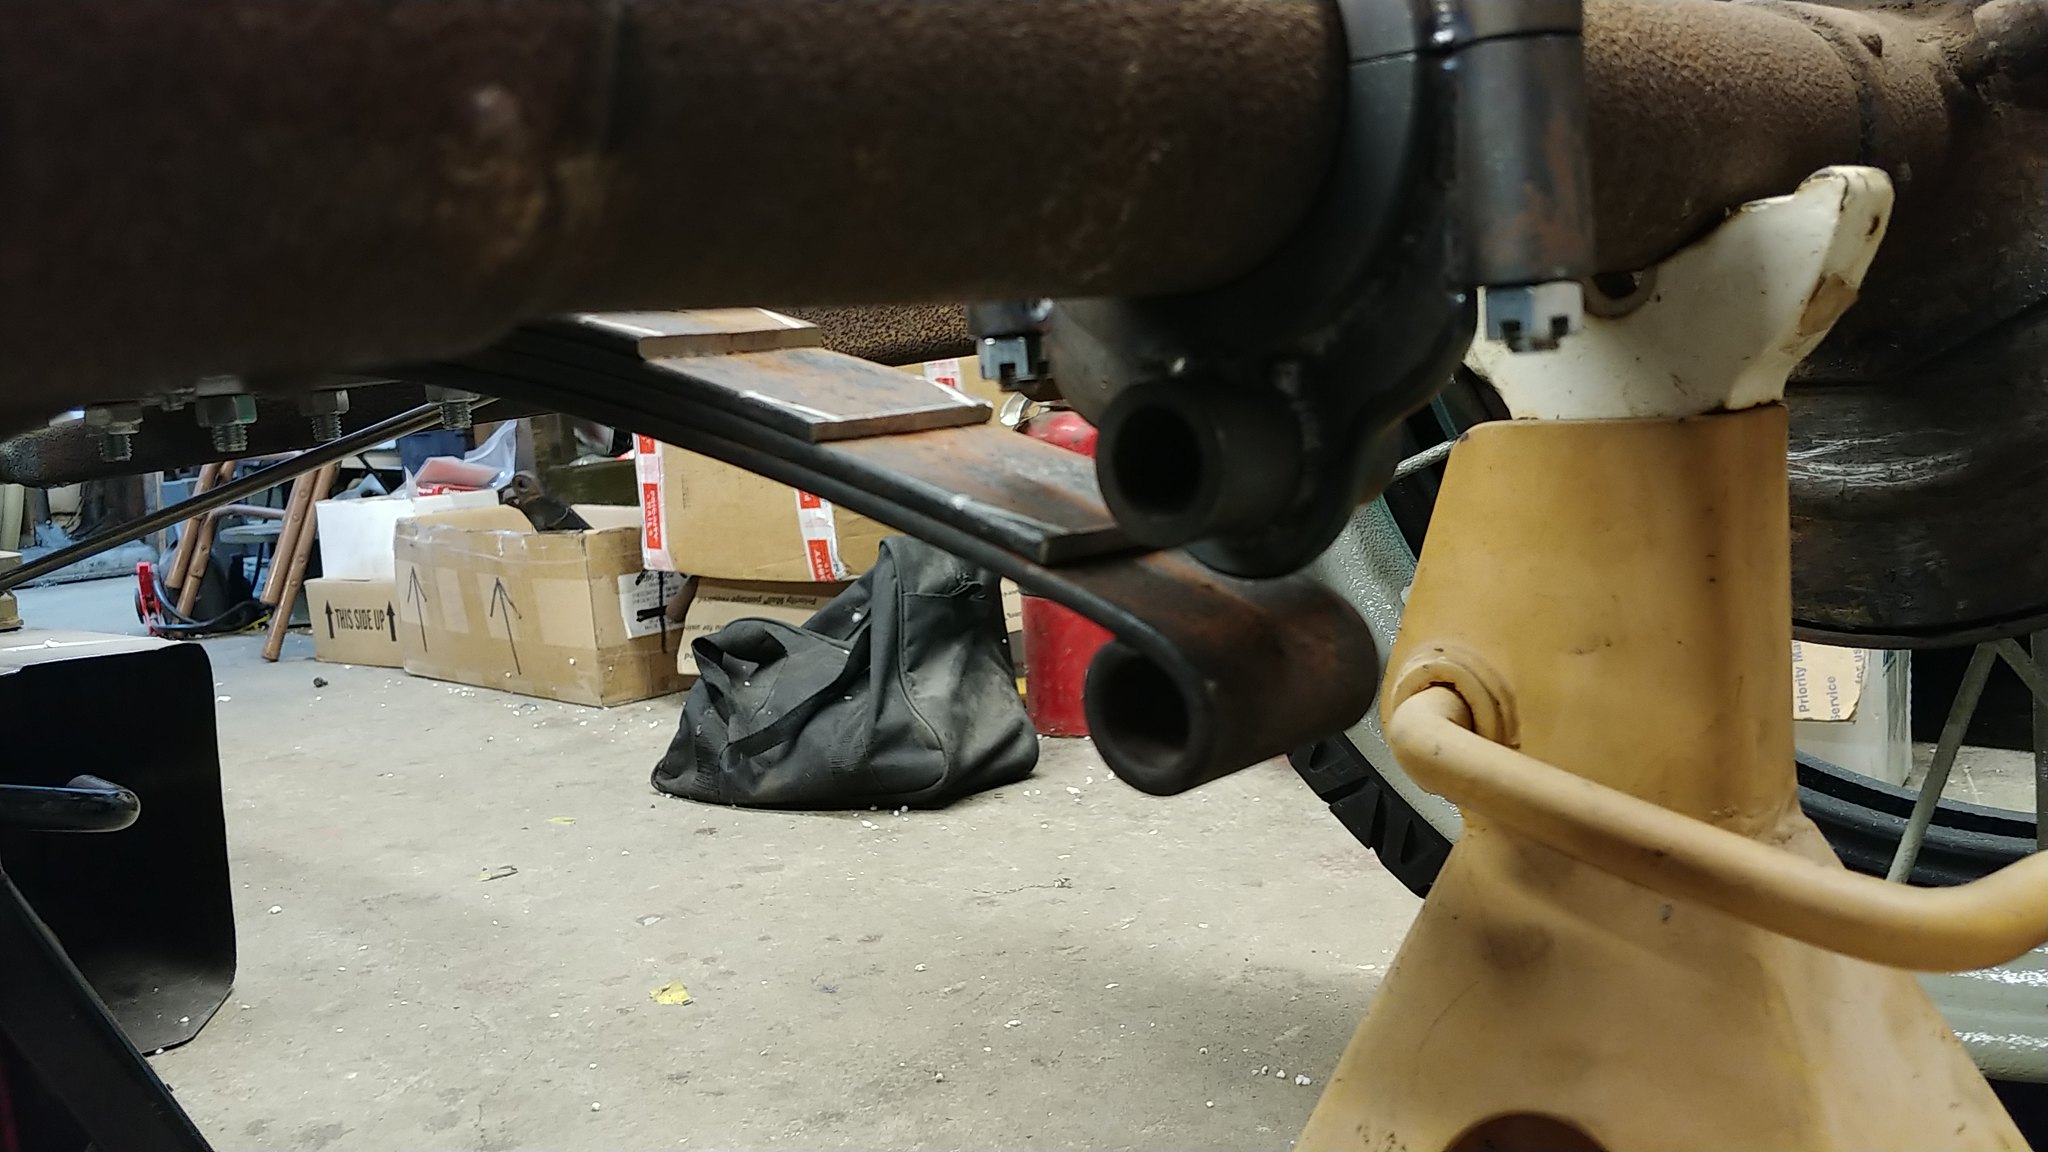
20171219_203810 by Tim Robbins, on Flickr
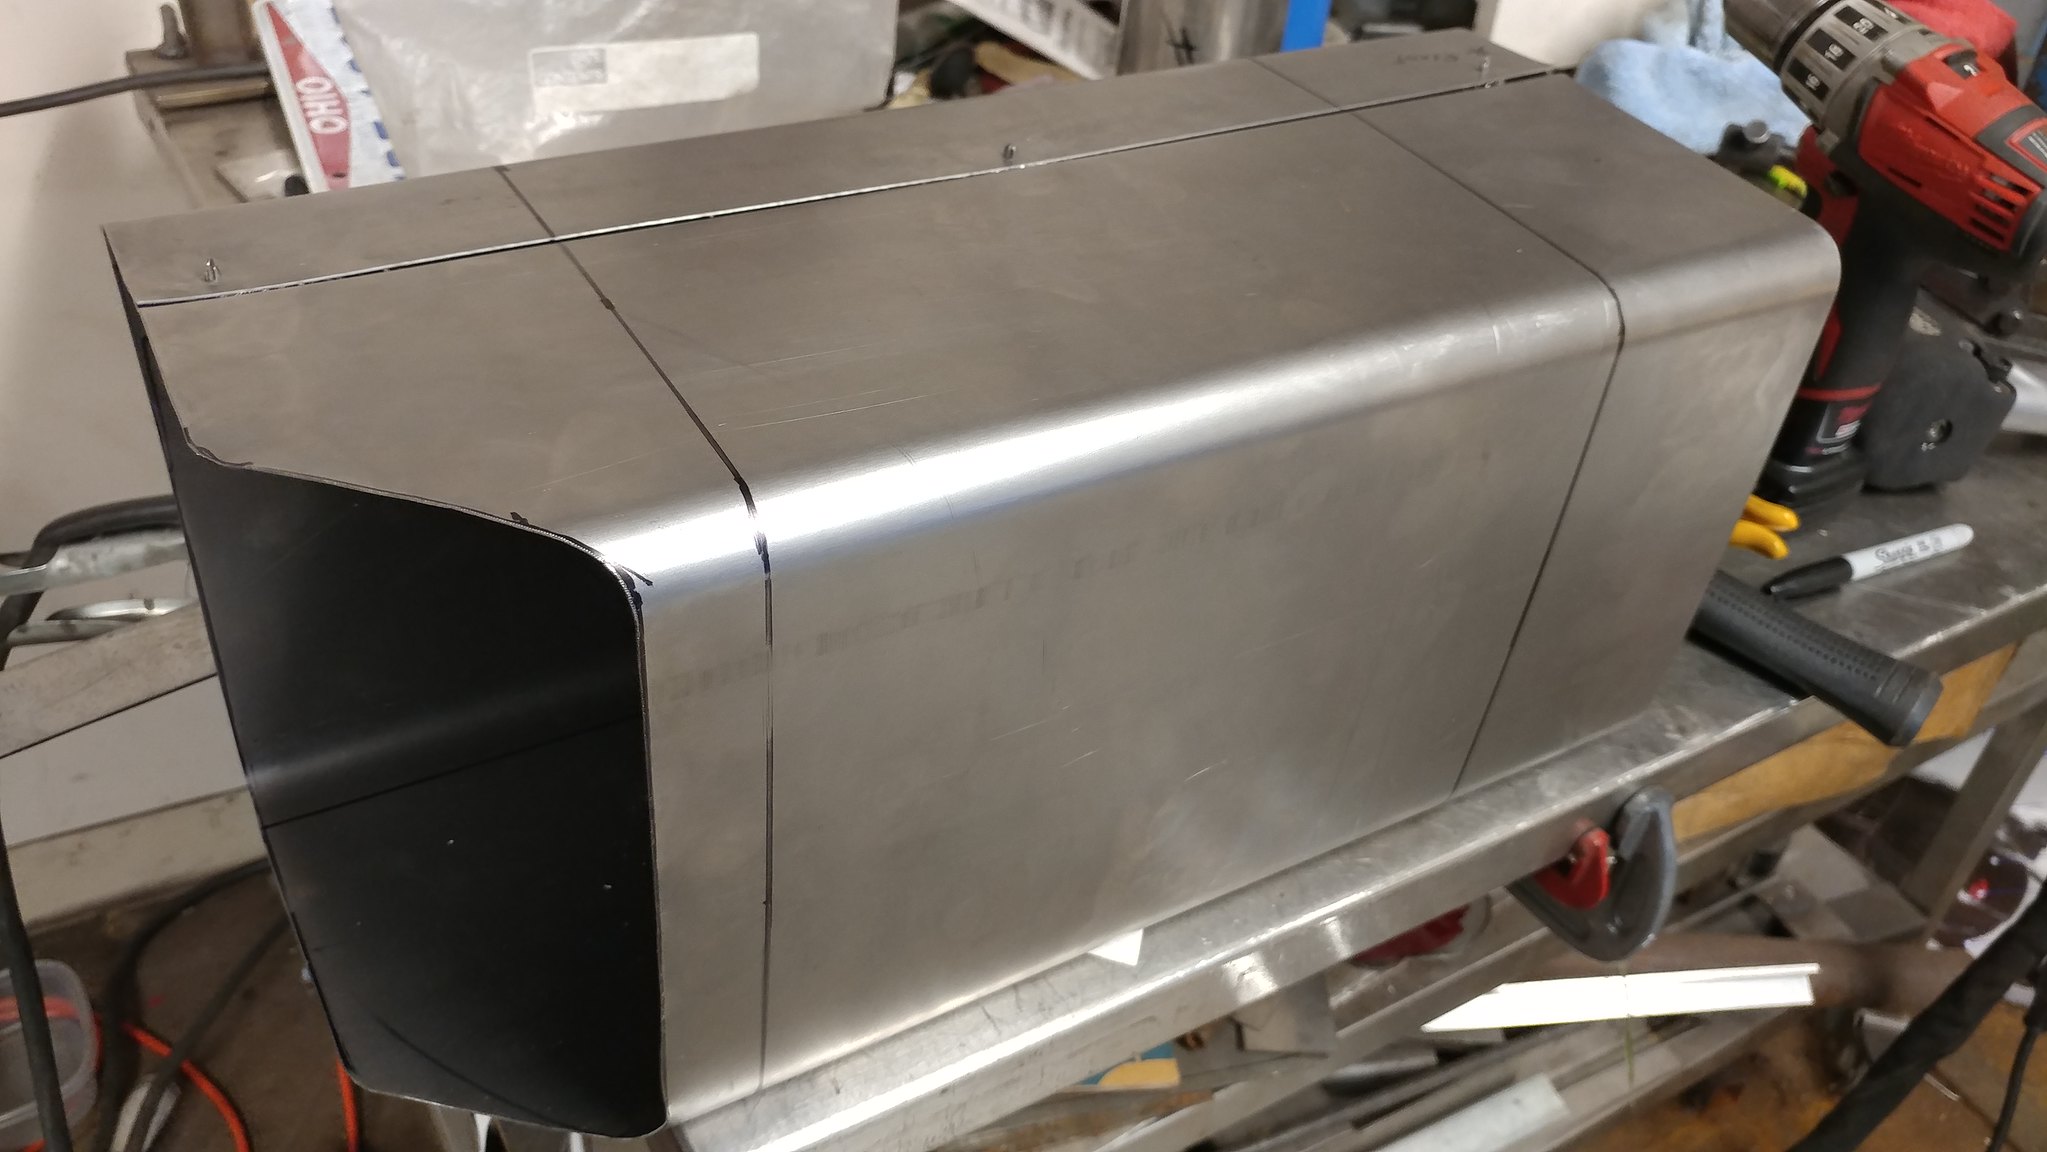
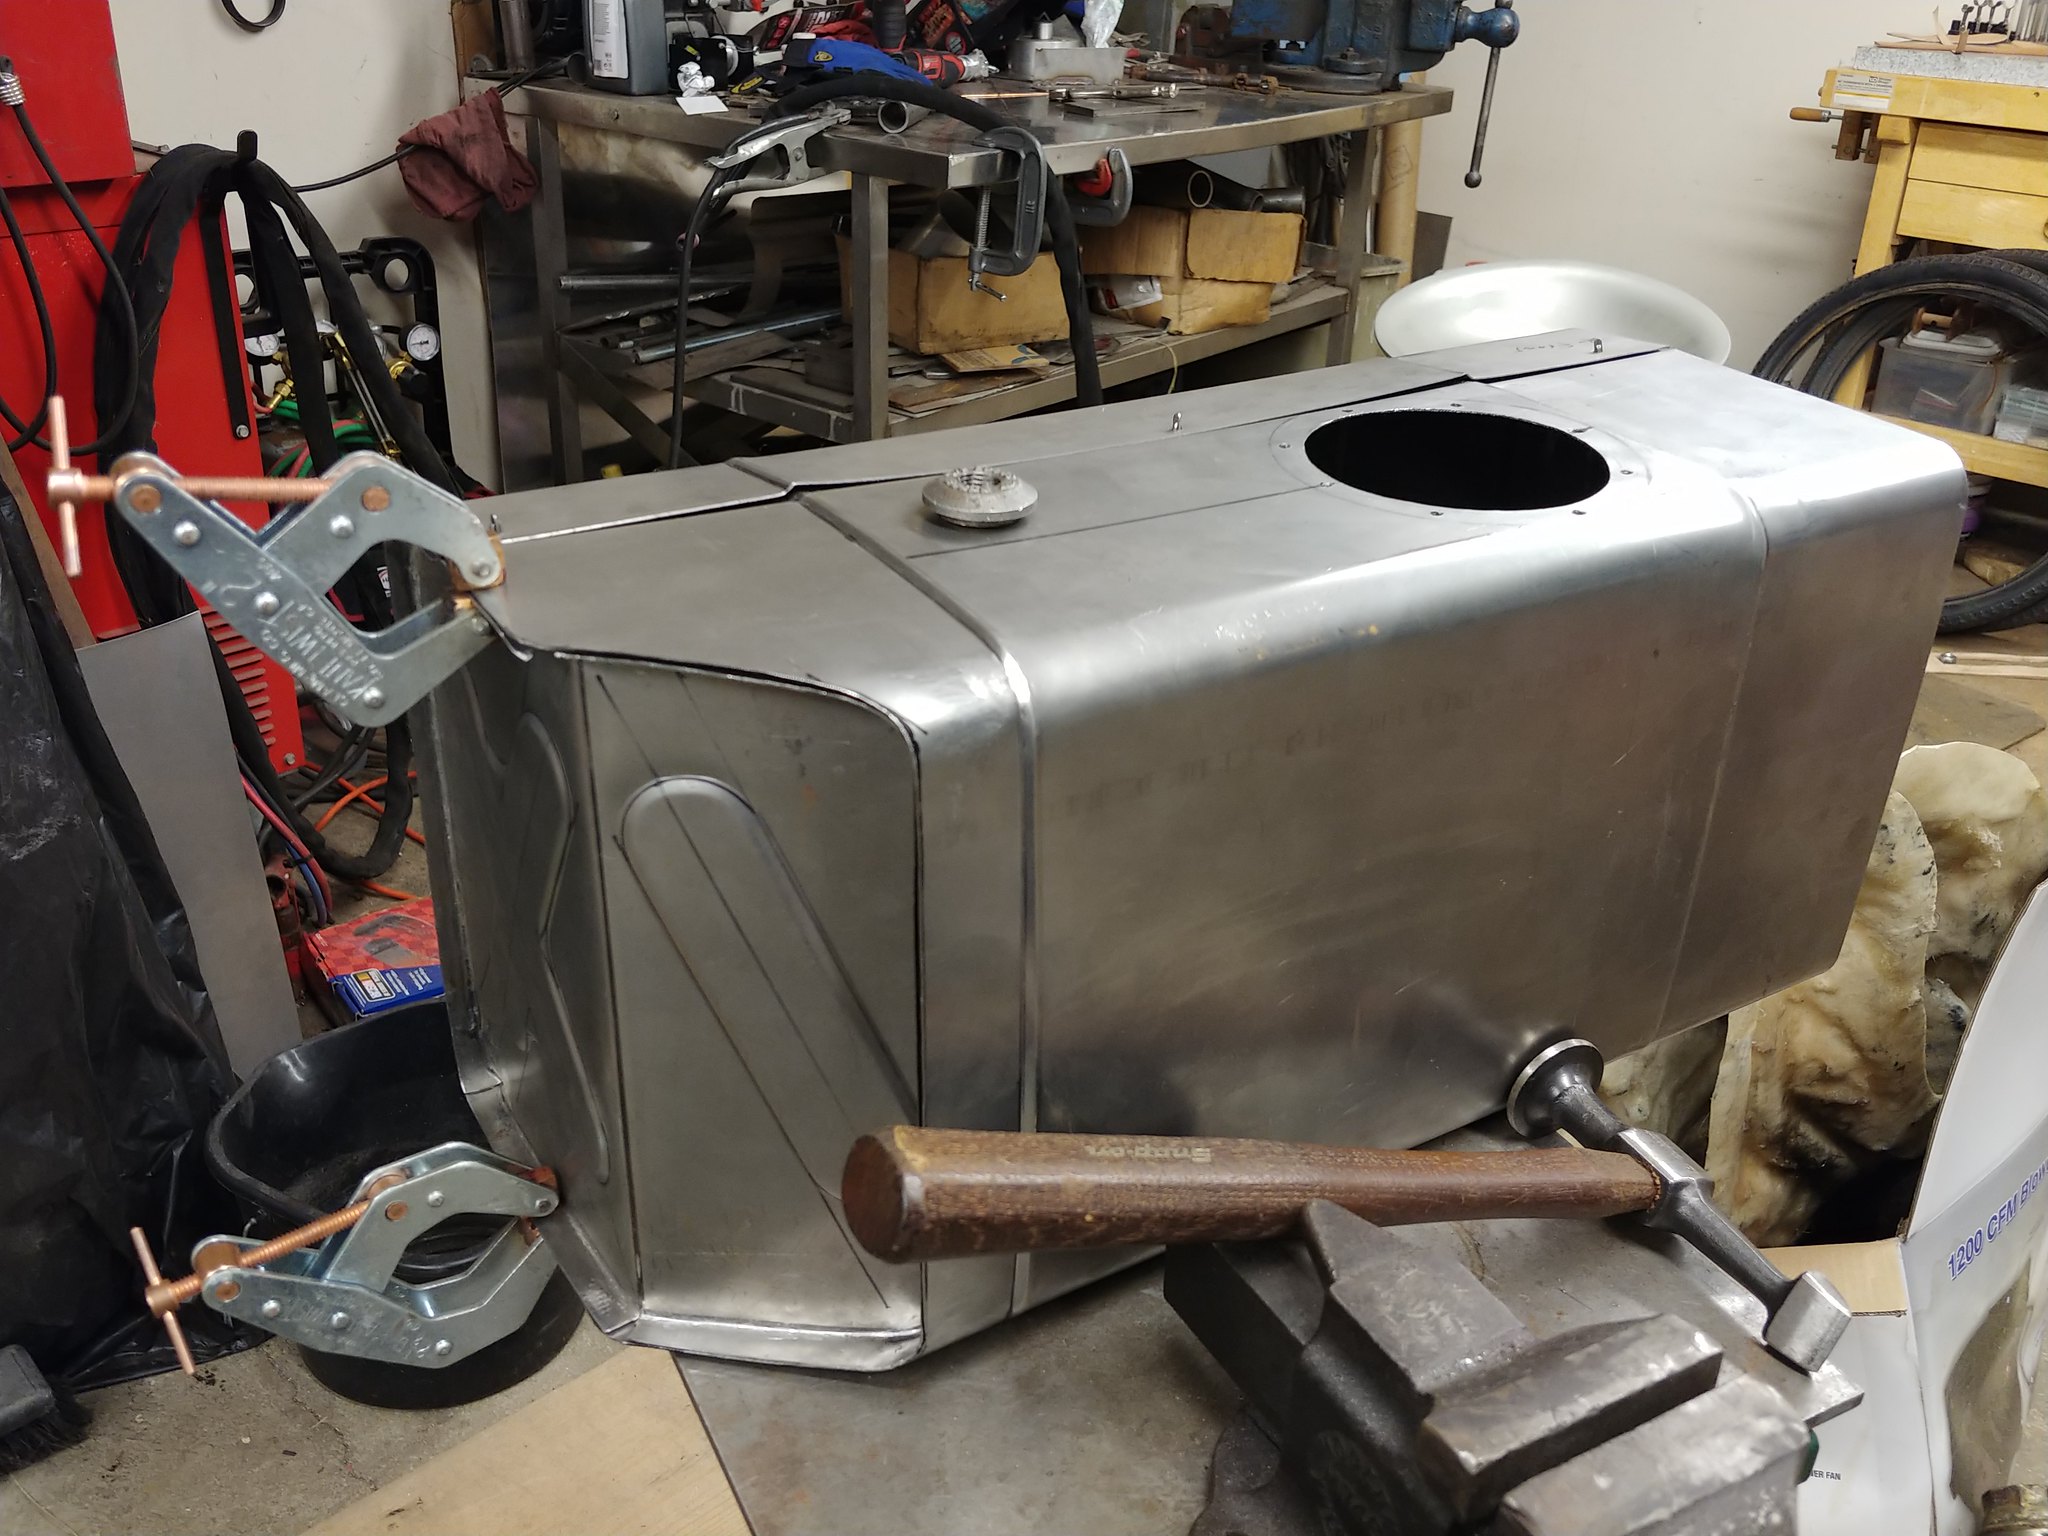
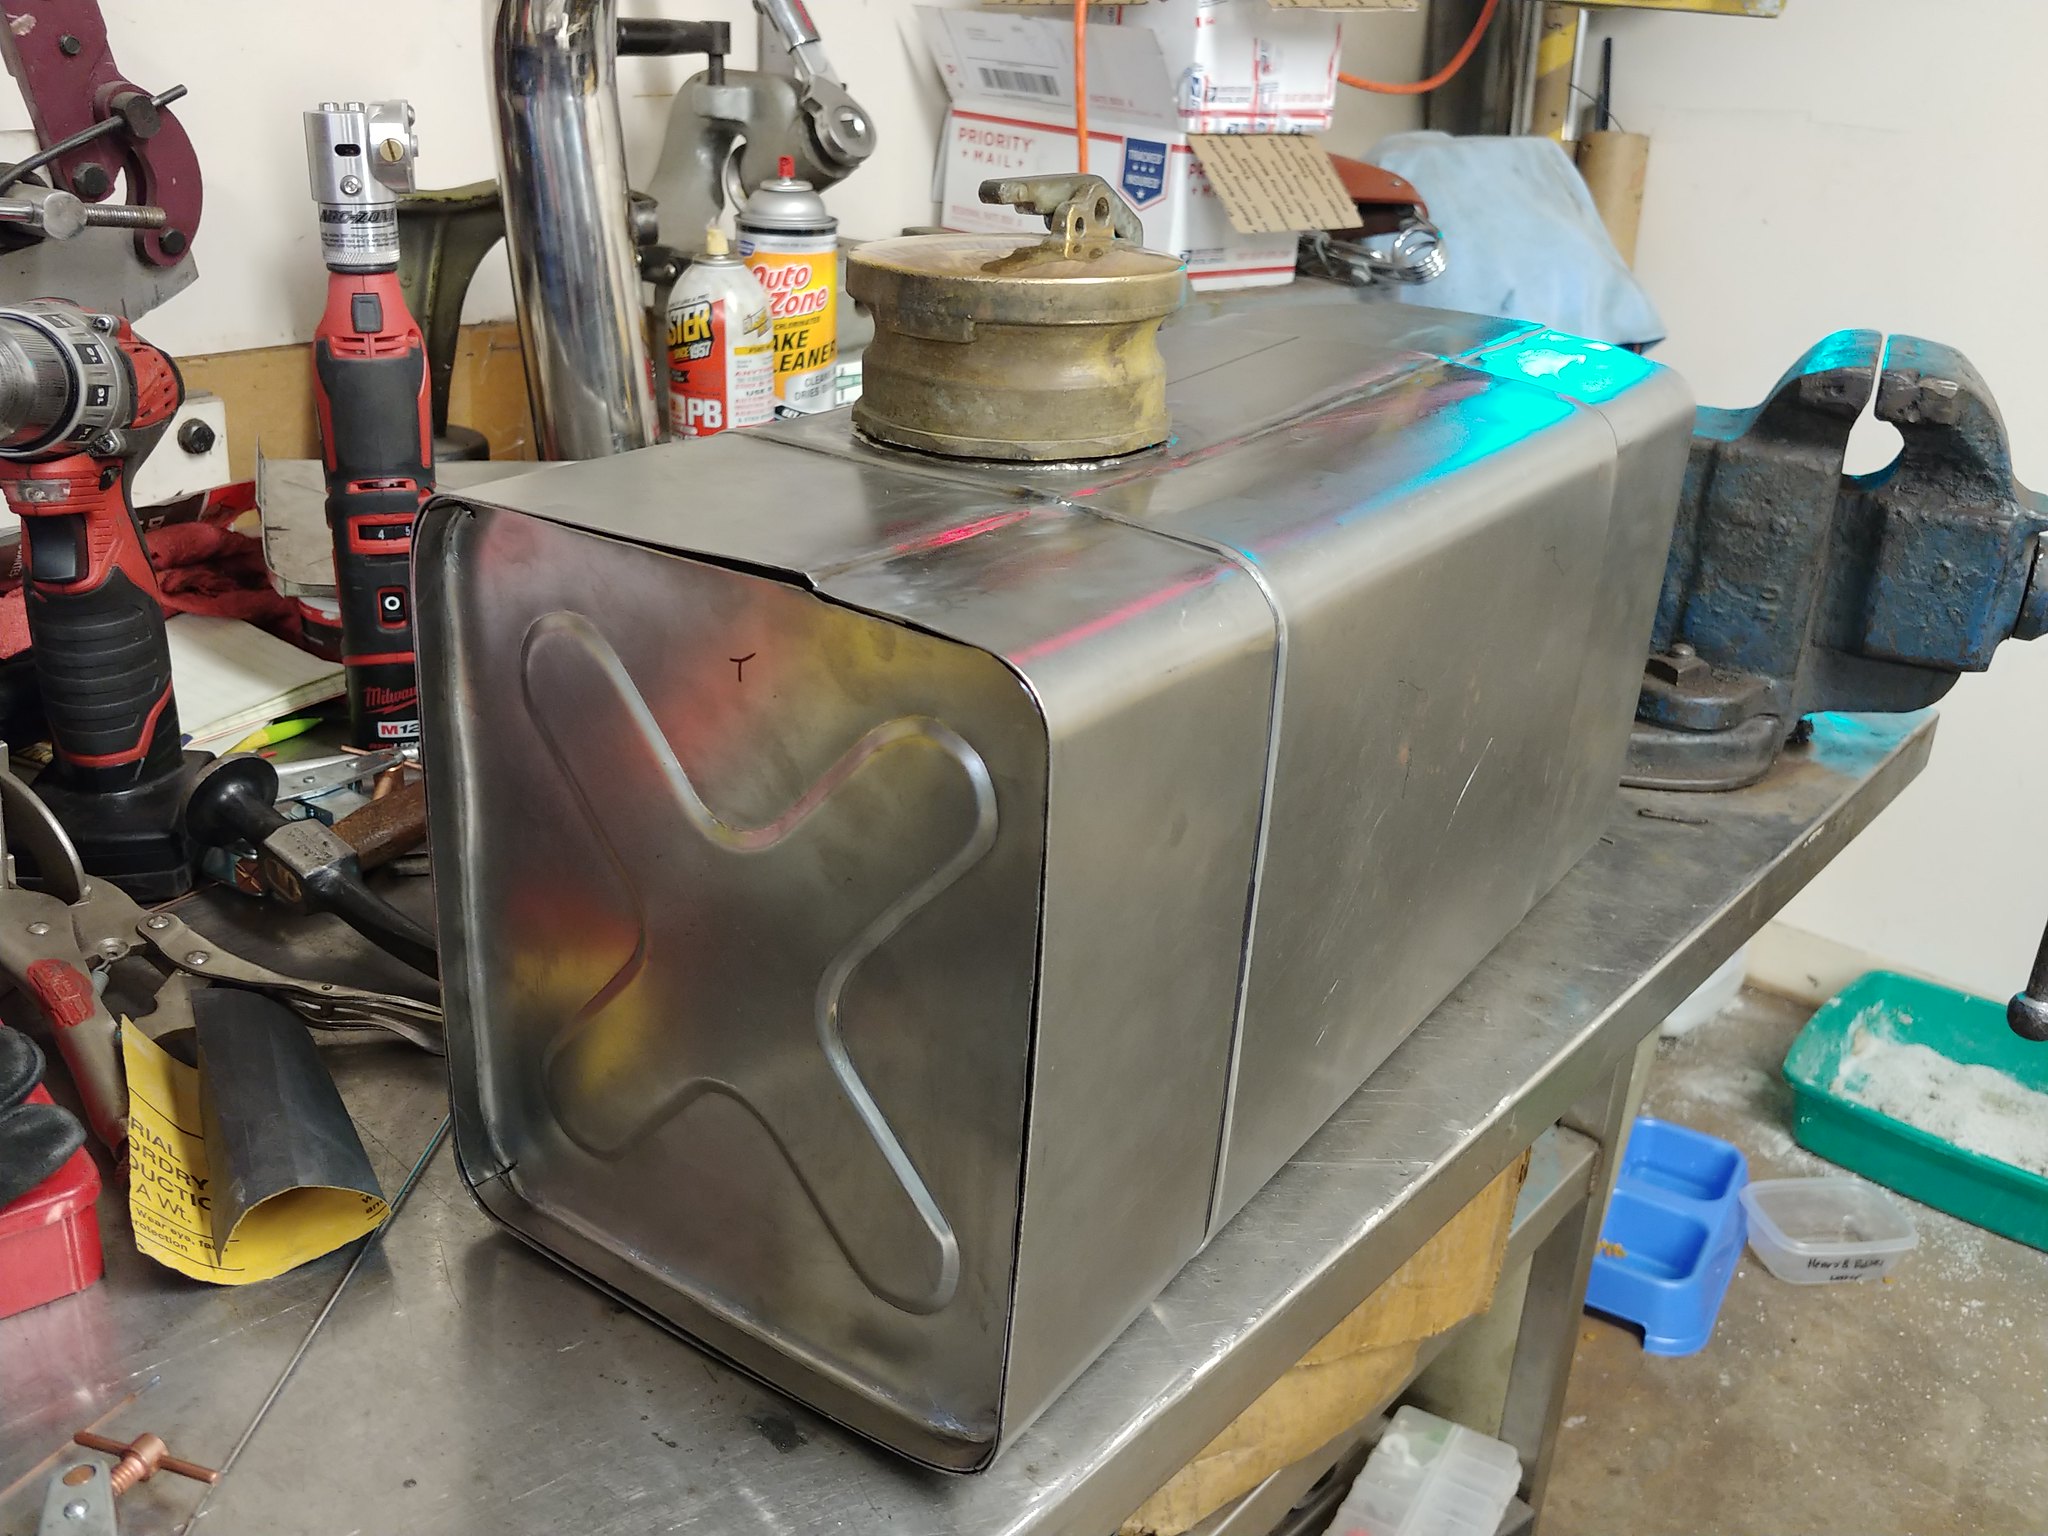
And I got a good jump on my fuel tank. I actually started the tank a few weeks back but haven’t worked on much since then. This tank is small main tank that will fit between the frame rails. I ordered a couple weld in bungs for the pressure line inlet and the fuel outlet fittings. Once those arrive I can locate and weld them in then I’ll install a baffle box then weld on the end panels.
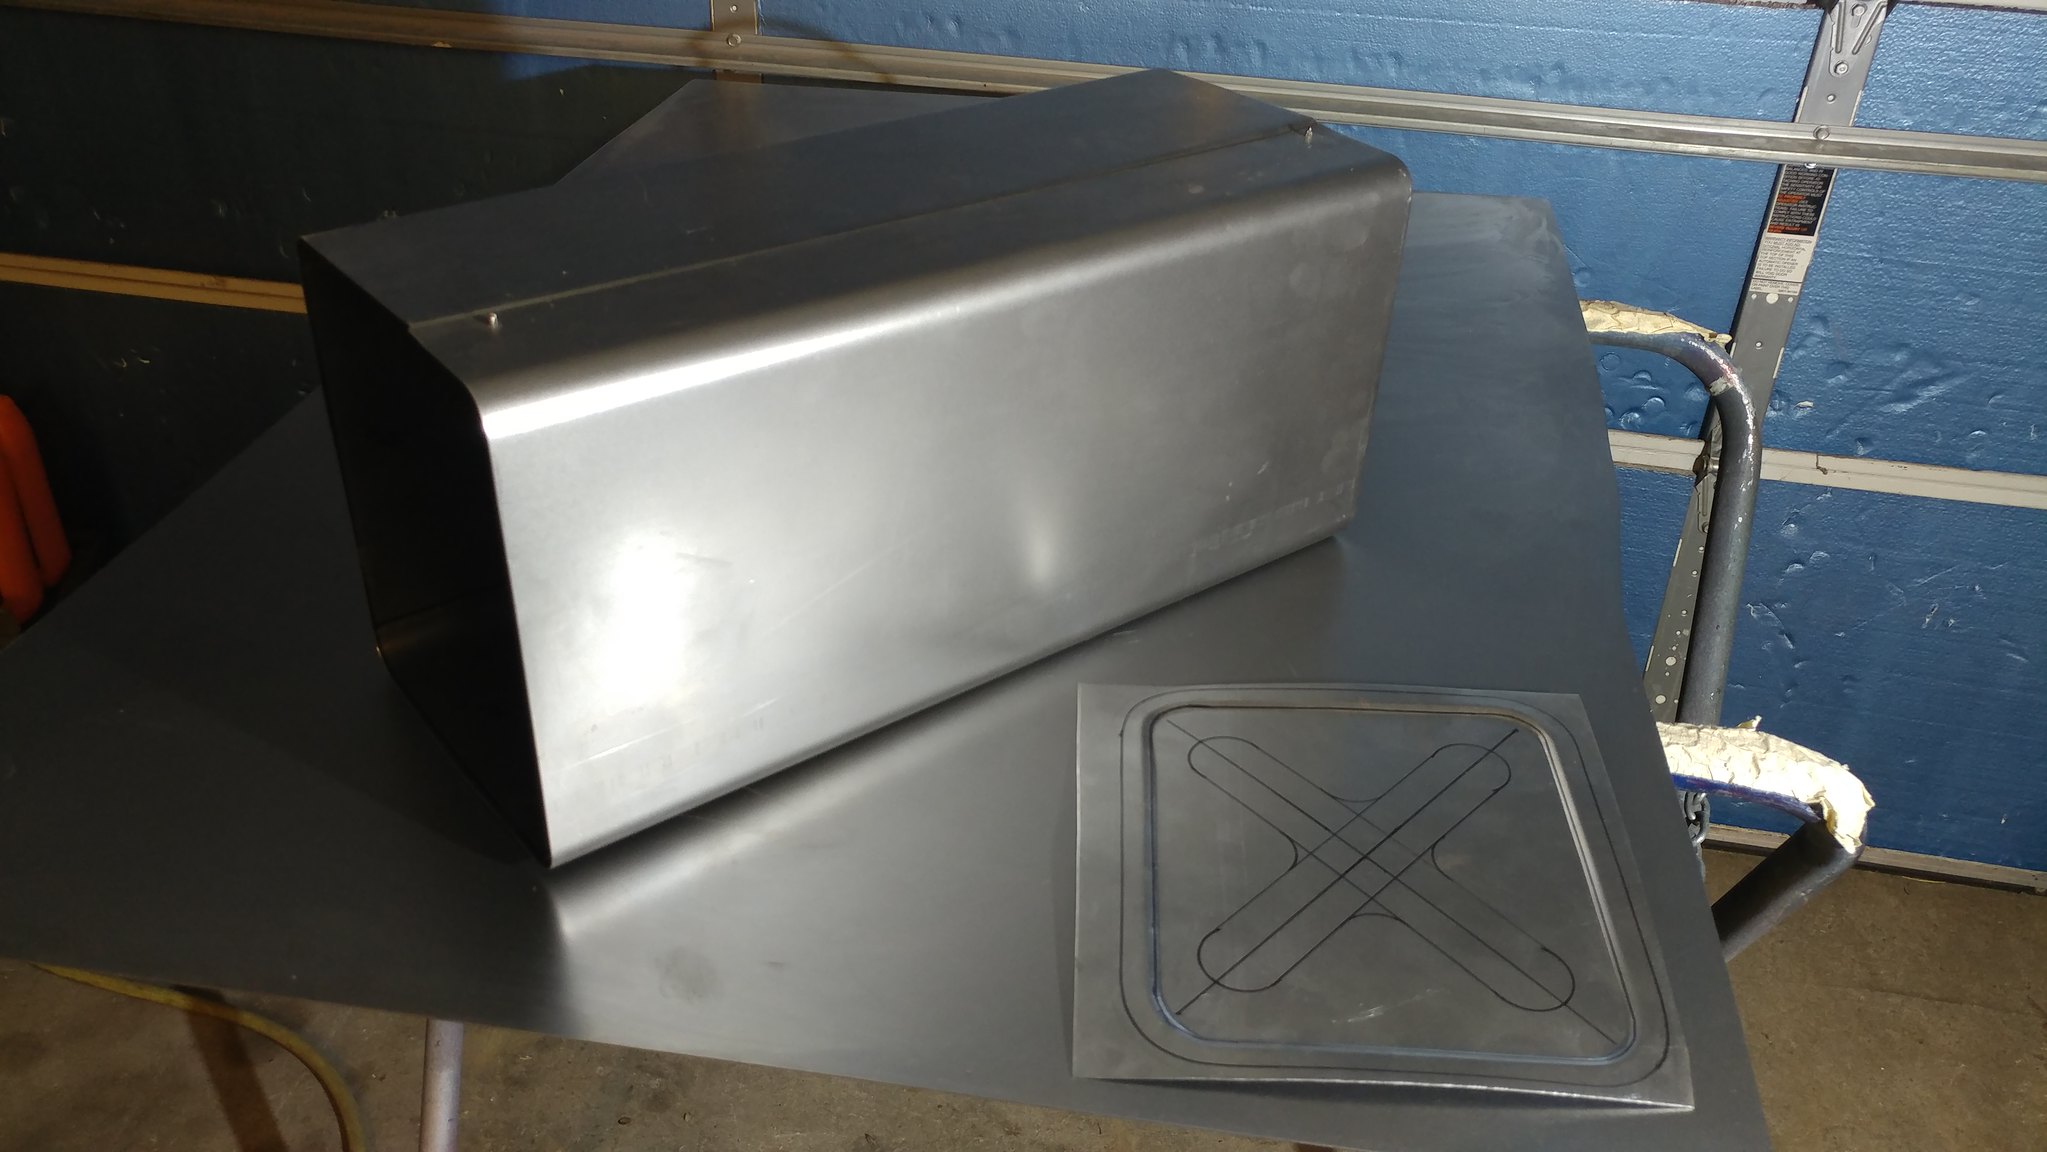
20170913_204241 by Tim Robbins, on Flickr
20170915_221534 by Tim Robbins, on Flickr

20170915_221540 by Tim Robbins, on Flickr
20171130_204658 by Tim Robbins, on Flickr
20171202_154256 by Tim Robbins, on Flickr
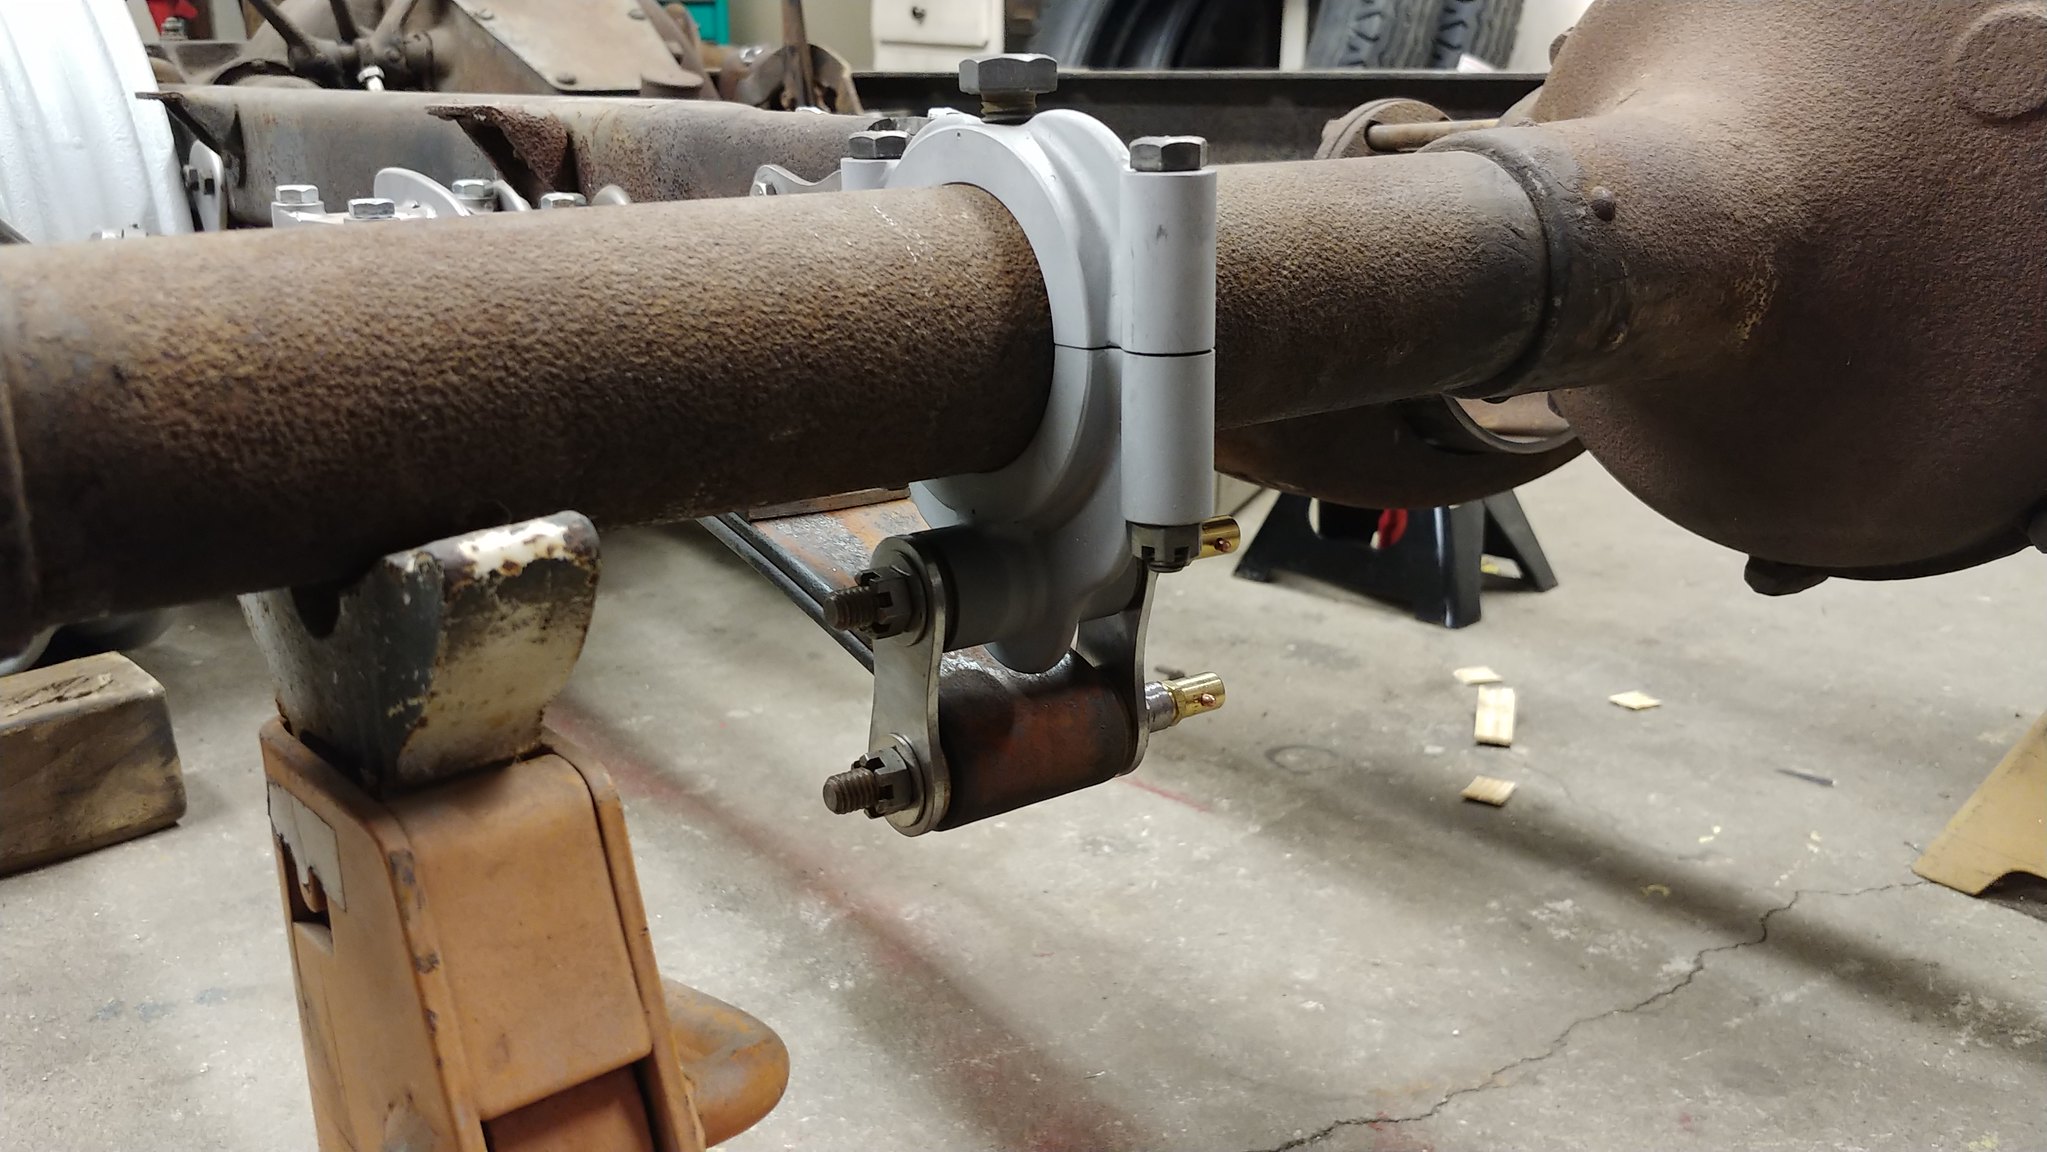
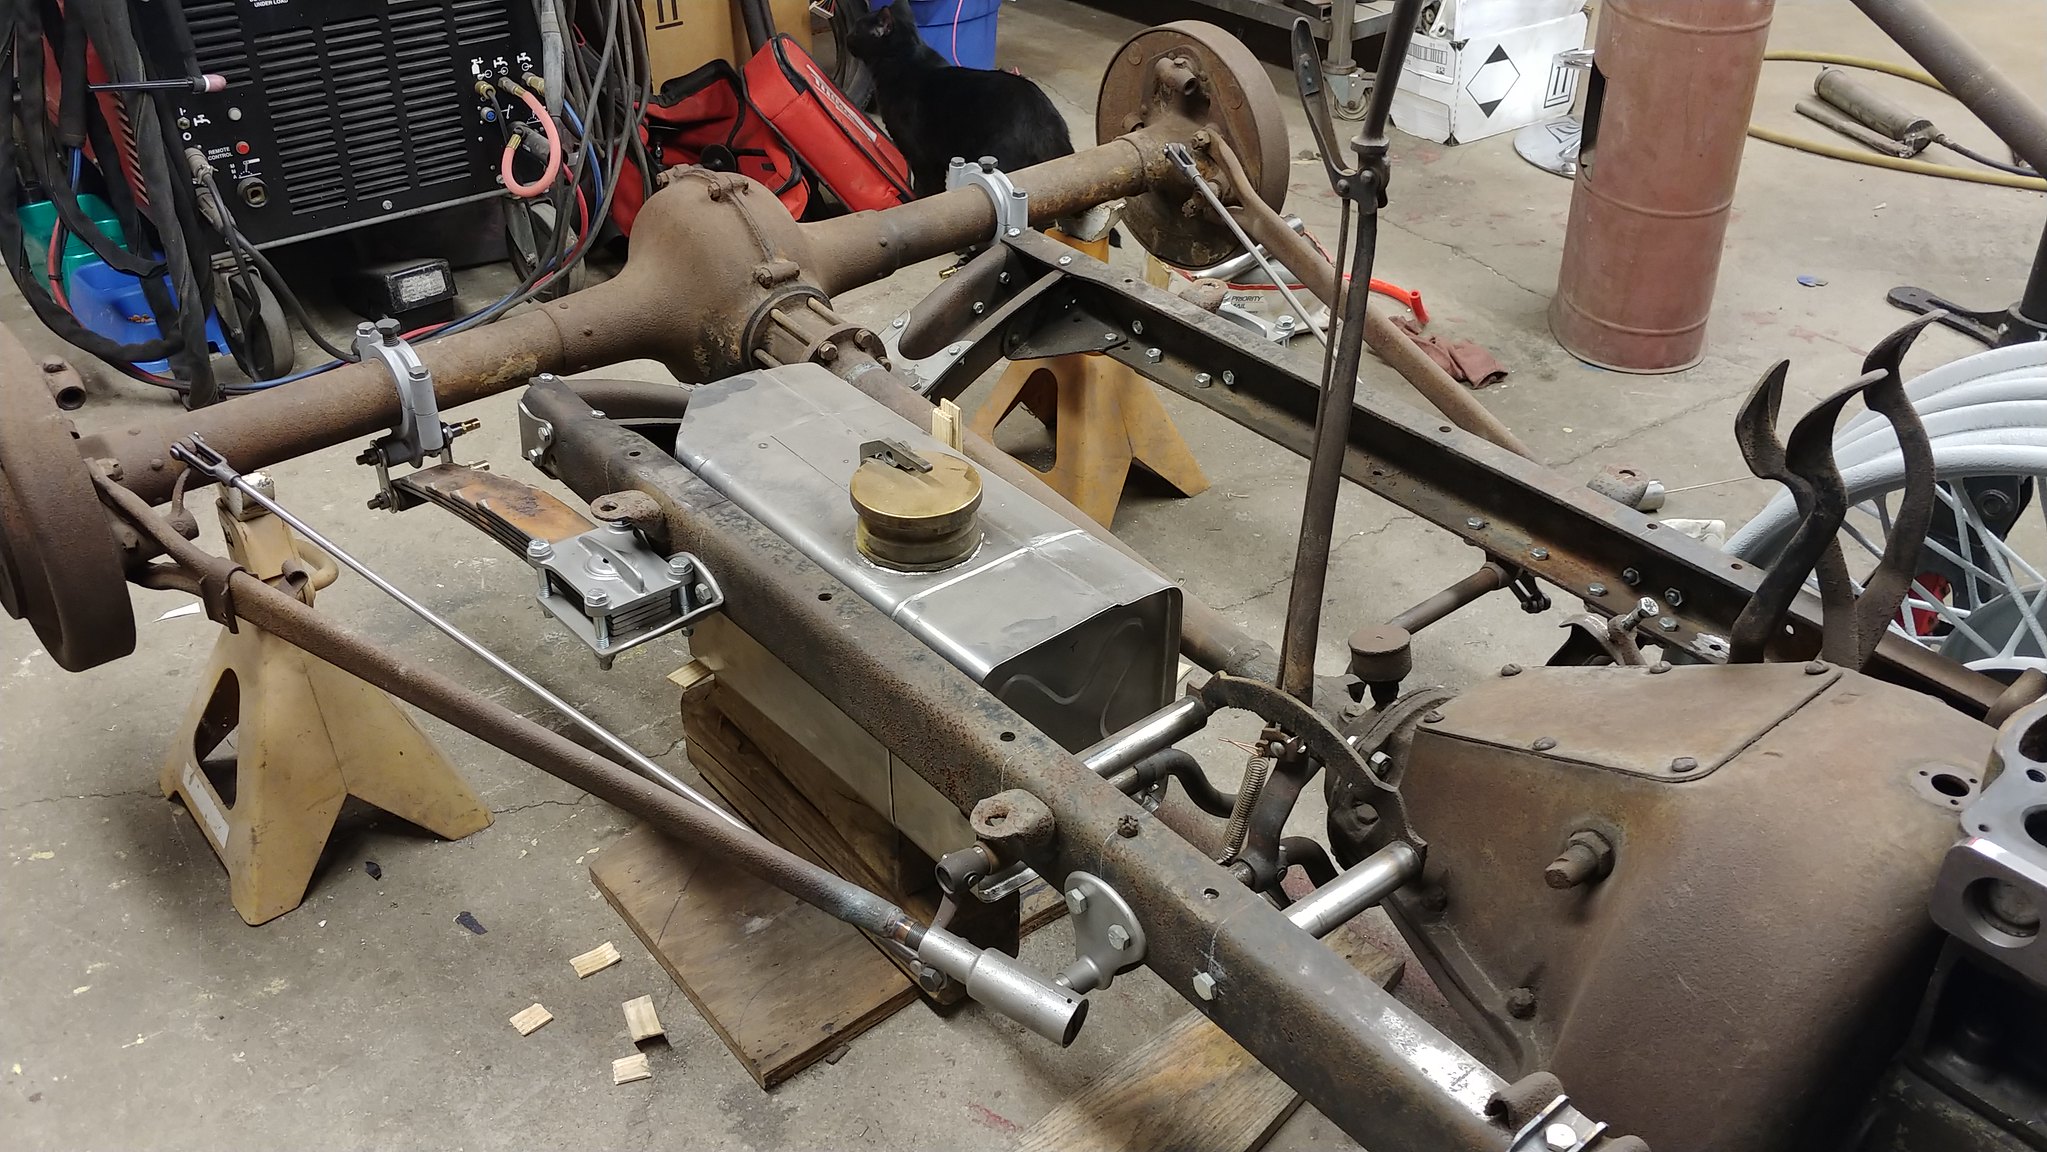
Update!! I got the rear shackle mounts all finished up. I also rifle drilled the rear shackle bolts welded a bung on them for a grease fitting. Got the rear shackles made and…now the Gem City Special is sitting under it’s own sprung weight!
20180104_202821 by Tim Robbins, on Flickr
20180104_202732 by Tim Robbins, on Flickr

20180116_121919 by Tim Robbins, on Flickr
20180117_215413 by Tim Robbins, on Flickr
20180118_195350 by Tim Robbins, on Flickr
20180118_211126 by Tim Robbins, on Flickr

20180119_215646 by Tim Robbins, on Flickr
20180120_211330 by Tim Robbins, on Flickr
20180120_212003 by Tim Robbins, on Flickr
God, impeccable work. Makes mine look like a 2 year old put it together.
Very Very nice work. Extremely impressed with your welds. Are they TIG’d?
Impressive work. Thanks for sharing.
Awesome project and fabrication skills! 