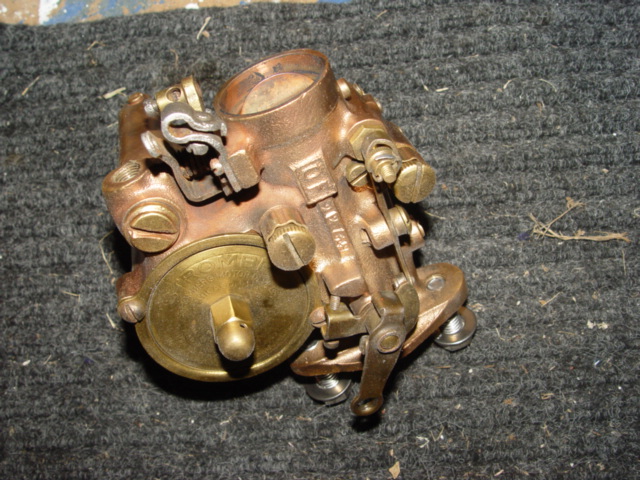
I’ve started this thread for posting all things Model T Accessory Carburetor including literature, instruction manuals, advertisement, etc.
RAYFIELD “UF” Brass Carburetor - New Old Stock
I’ve started this thread for posting all things Model T Accessory Carburetor including literature, instruction manuals, advertisement, etc.
RAYFIELD “UF” Brass Carburetor - New Old Stock
Awesome Jay thank you for sharing!
Thanks for posting so much good stuff with pictures!
Carburetors are a mystery to me. I am too fumble fingered and careless to rebuild one. But I still like them, especially the brass ones like you show, and the ones that represent the never ending quest for better gas mileage.
Attached is a picture of a Stromberg OF I bought my wife for our 40th wedding anniversary! Any information on it would be appreciated, especially how to adjust it once it is on the engine.

From a thread on the MTFCA back in Aug 2014
By Seth from NC on Monday, August 04, 2014 - 03:00 pm:
I don’t know about a manual, but there’s plenty of adjustment information on the forum!
It is very simple. Initial adjustment is as follows: Screw the idling jet (lower knob/screw)all the way in, then back out 1 turn. Screw the high speed idle jet (higher knob/screw)in all the way, then back out 2-1/2 turns. This will get the car started. After it warms up, with spark retarded half way,and the idle screw adjusted for desired rpms, turn idle screw/knob in for richer, out for leaner, until it hits a nice running spot for the idle.Then adjust throttle and speed up engine to driving rpms(about 1 inch on the quadrant), and adjust the high speed jet/knob. Turn the high speed jet knob/screw inwards/clockwise until engine starts to slow down,then back out until maximum speed mixture is reached, then back in 2 clicks. Basically play around with it from there, depending on how worn the carb is.
Two more comments I forgot above to those initially adjusting their OF’s that is not in the manuals.
(1)You adjust the gas level in the float chamber by taking off the acorn nut on the float chamber cap. Under the acorn nut you will see the threaded top of the float needle and a smaller nut. By placing a tiny screwdriver at the top of the float needle you then run the smaller nut up or down the threads to adjust the gas level. The more threads you see above the nut the higher the gas level will be in the bowl when you let the needle move up and down on its own by the action of the floats. Be forwarned that the threads on the float needle may no longer fit tightly on the small nut and during operation and vibration the nut may eventually thread its way up the float needle and lower the gas level in the bowl until the engine stops from lack of gas. This happened to me 7 miles from home one time. I eventually adjusted the nut back to a good level and then applied one drop of loc-tite to the threads and the small nut has not moved now for two years.
(2) The “economizer” valve/needle can be adjusted by taking the tiny cotter pin from above the nut and screwing the nut up or down on the needle. I have mine set so the needle lifts up at any speed above a fast idle and find this makes sure there is no engine stumble between idle and pulling the throttle lever all the way down quickly. There is not only no stumble but an amazingly instant full throttle response on my '19 when I set the valve this way.
…Michael Pawelek
All of that is from this thread: http://www.mtfca.com/discus/messages/29/9381.html
Excellent, thanks!